Terminal Setup
We will be using the Terminal in many tasks in this course. By “Terminal”, we mean a command-line terminal, where you will use it to type instructions and connect to your remote resources.
When we say “terminal” in this course, it means that you need to open up the terminal application for your respective operating system. The terminal is a “local” application, meaning it is running on your “local” machine (your laptop.)
Windows Users
Windows users will be using Windows Powershell.
Windows Powershell is most likely installed if you have Windows 10. If you don’t have Powershell, take a look at this article that explains how to install it.
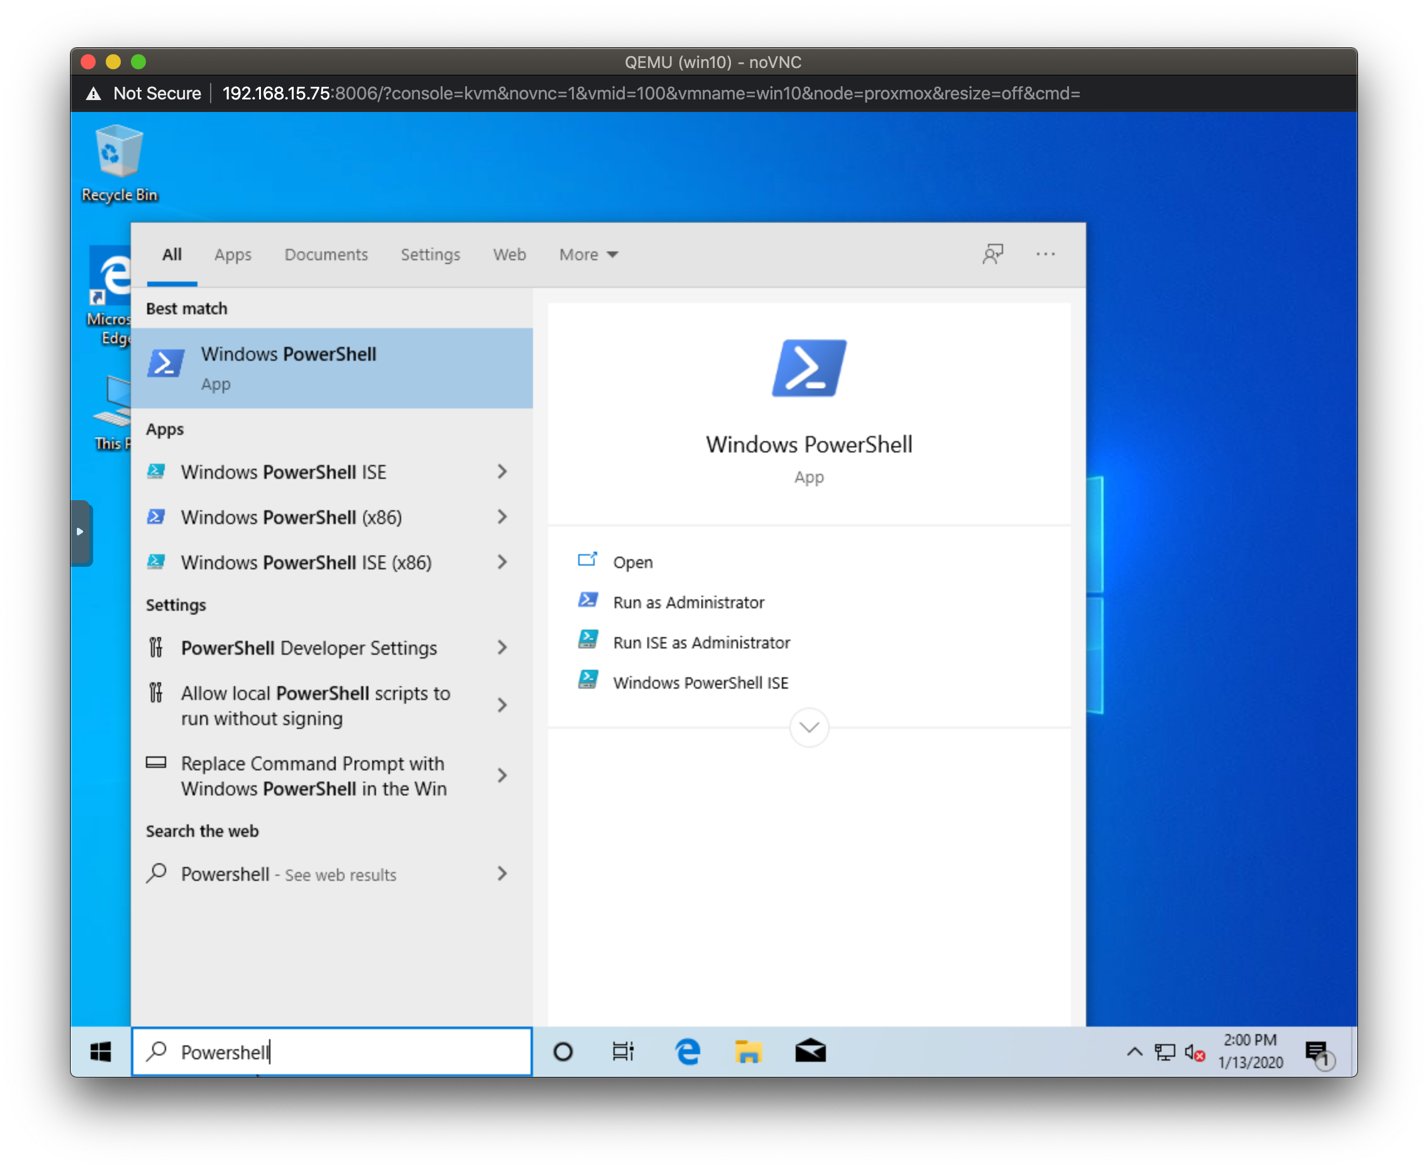
You can find Powershell by typing “Powershell” into the search bar:
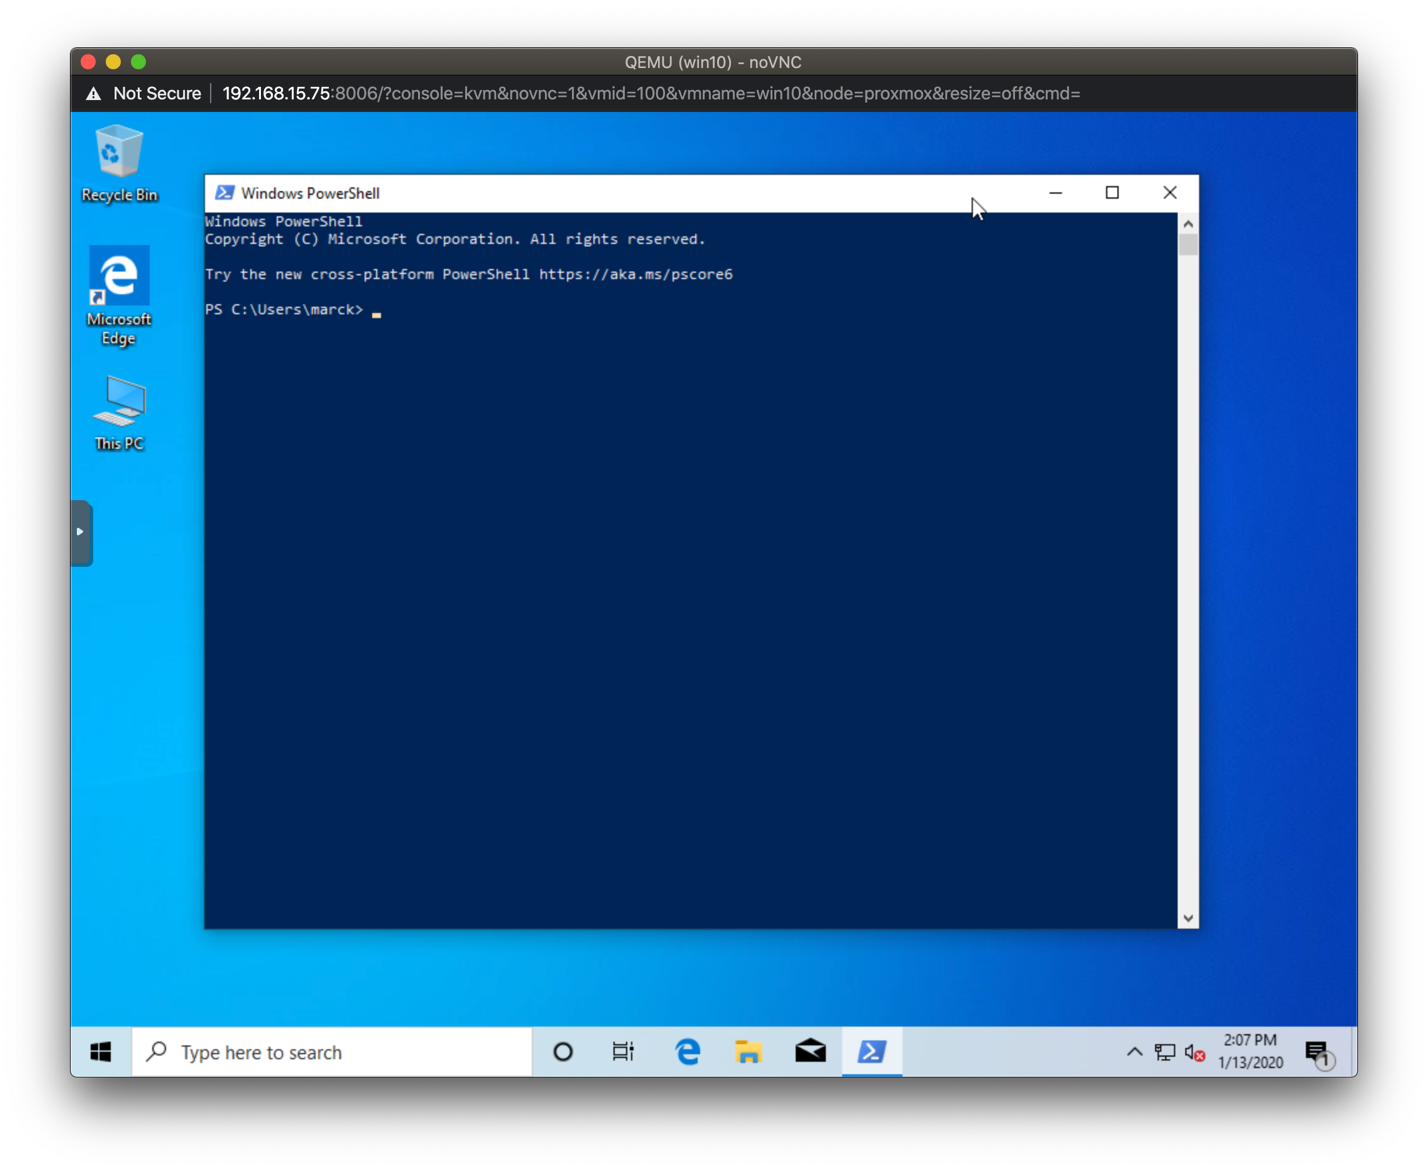
Once Powershell is running, this is your terminal:
Additional Powershell Configuration
Windows users must do this step, and you only need to do this once.
You need to perform this step **only once** to be able to use agent forwarding which is explained further in the lab.
Exit Powershell if running
Start a new Powershell session using run as Administrator
Enter the following command (you can cut/paste from here):
Get-Service -Name ssh-agent | Set-Service -StartupType ManualExit Powershell. You should not need to run as administrator going forward.
Mac and Linux Users
For Mac and Linux users, you will open up the Terminal.
Macs and Linux have a built in Terminal.
Or, you can use iTerm app
If you are on Linux (but not on Mac), you can open the terminal by using Ctrl-Alt-T.