Set up AWS Sagemaker
Create a SageMaker Studio Domain and Notebook
The Amazon SageMaker Studio is one of the data science tools that we will be using during this course. We will set a SageMaker Studio domain and start a Jupyter Notebook as part of this task so that we can use it for future labs.
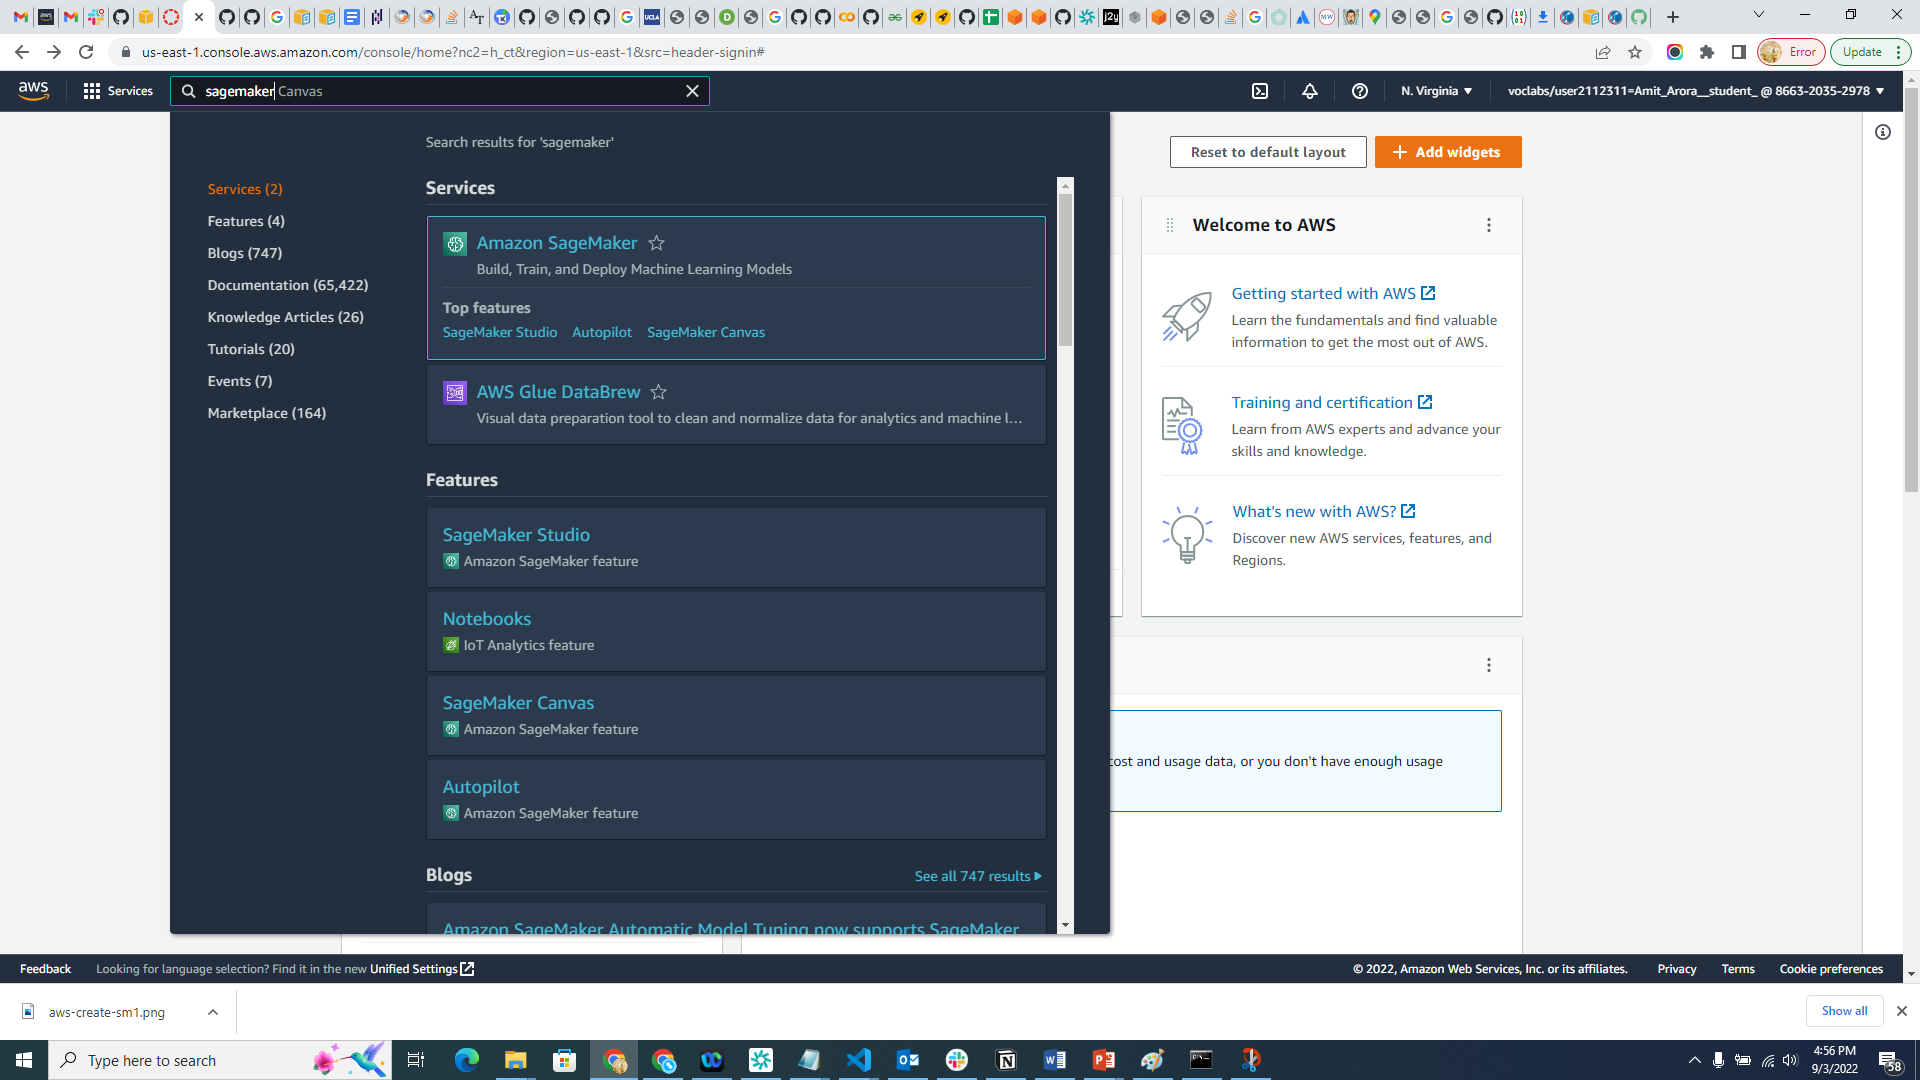
Navigate to SageMaker Studio.
Create a new SageMaker Studio domain. Click the button alongside
Enable SageMaker Canvas Permissionsto disable it. You can leave the rest of the options as default.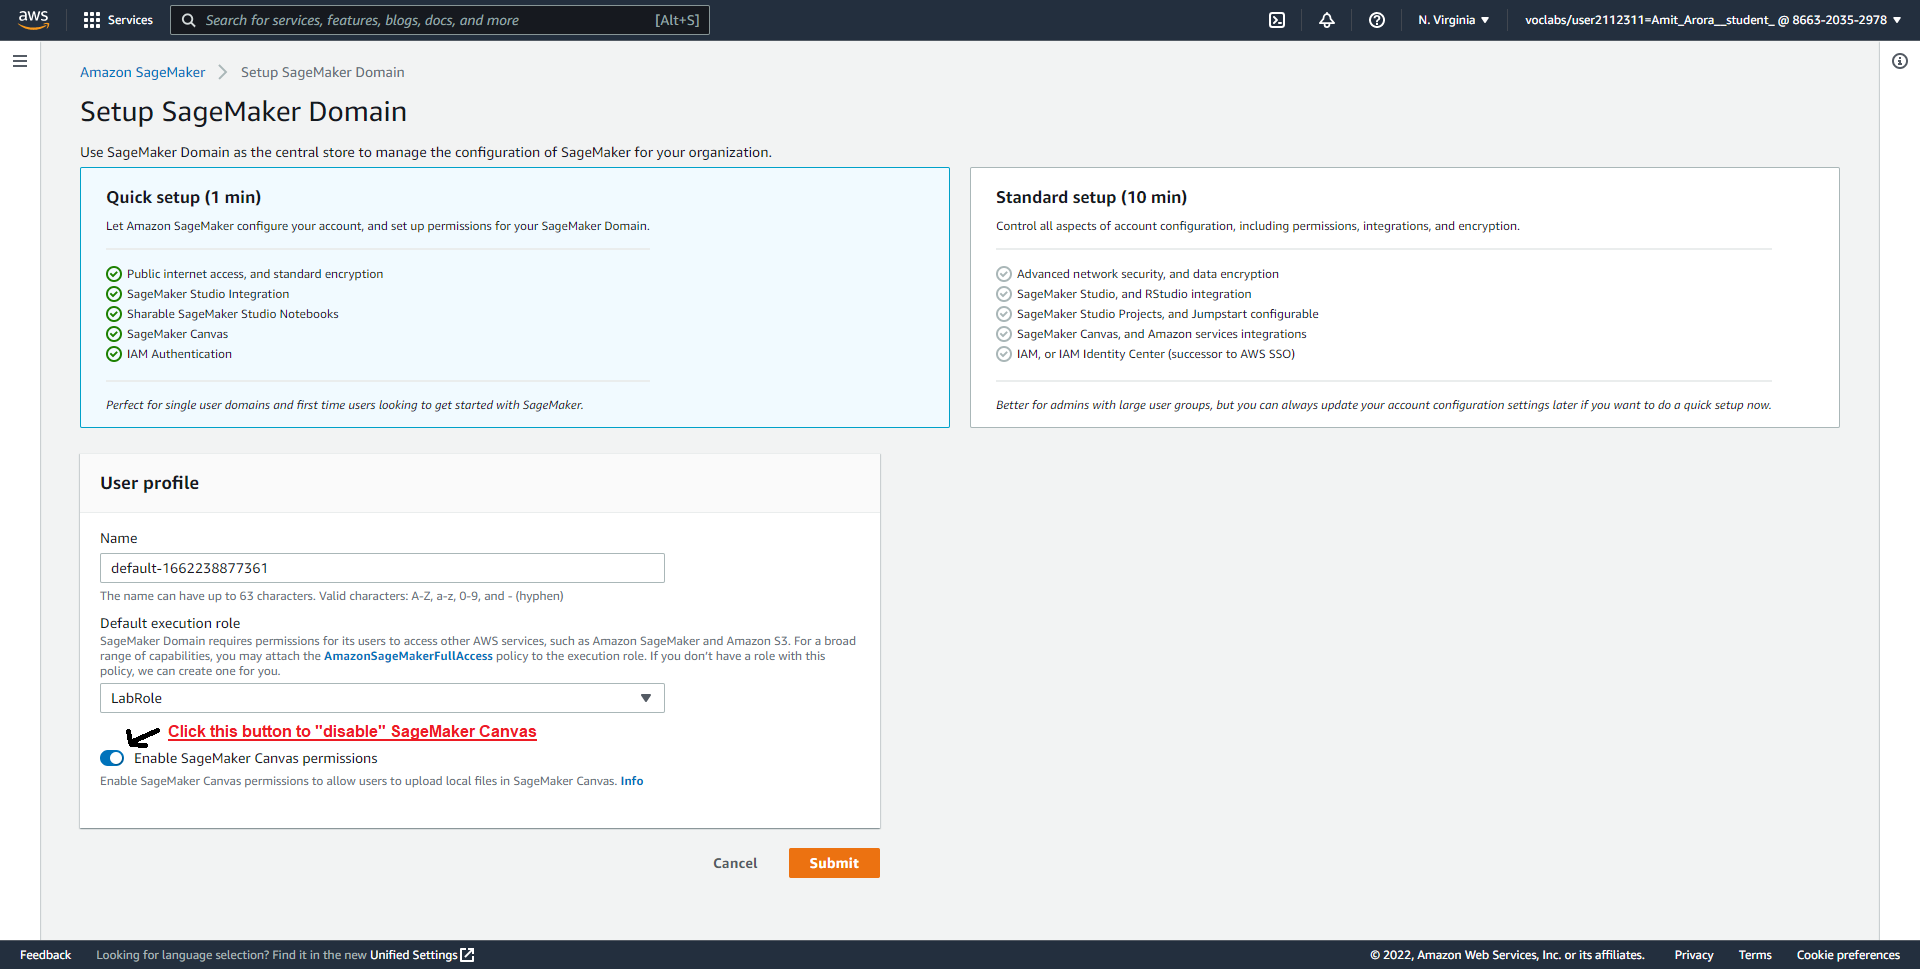
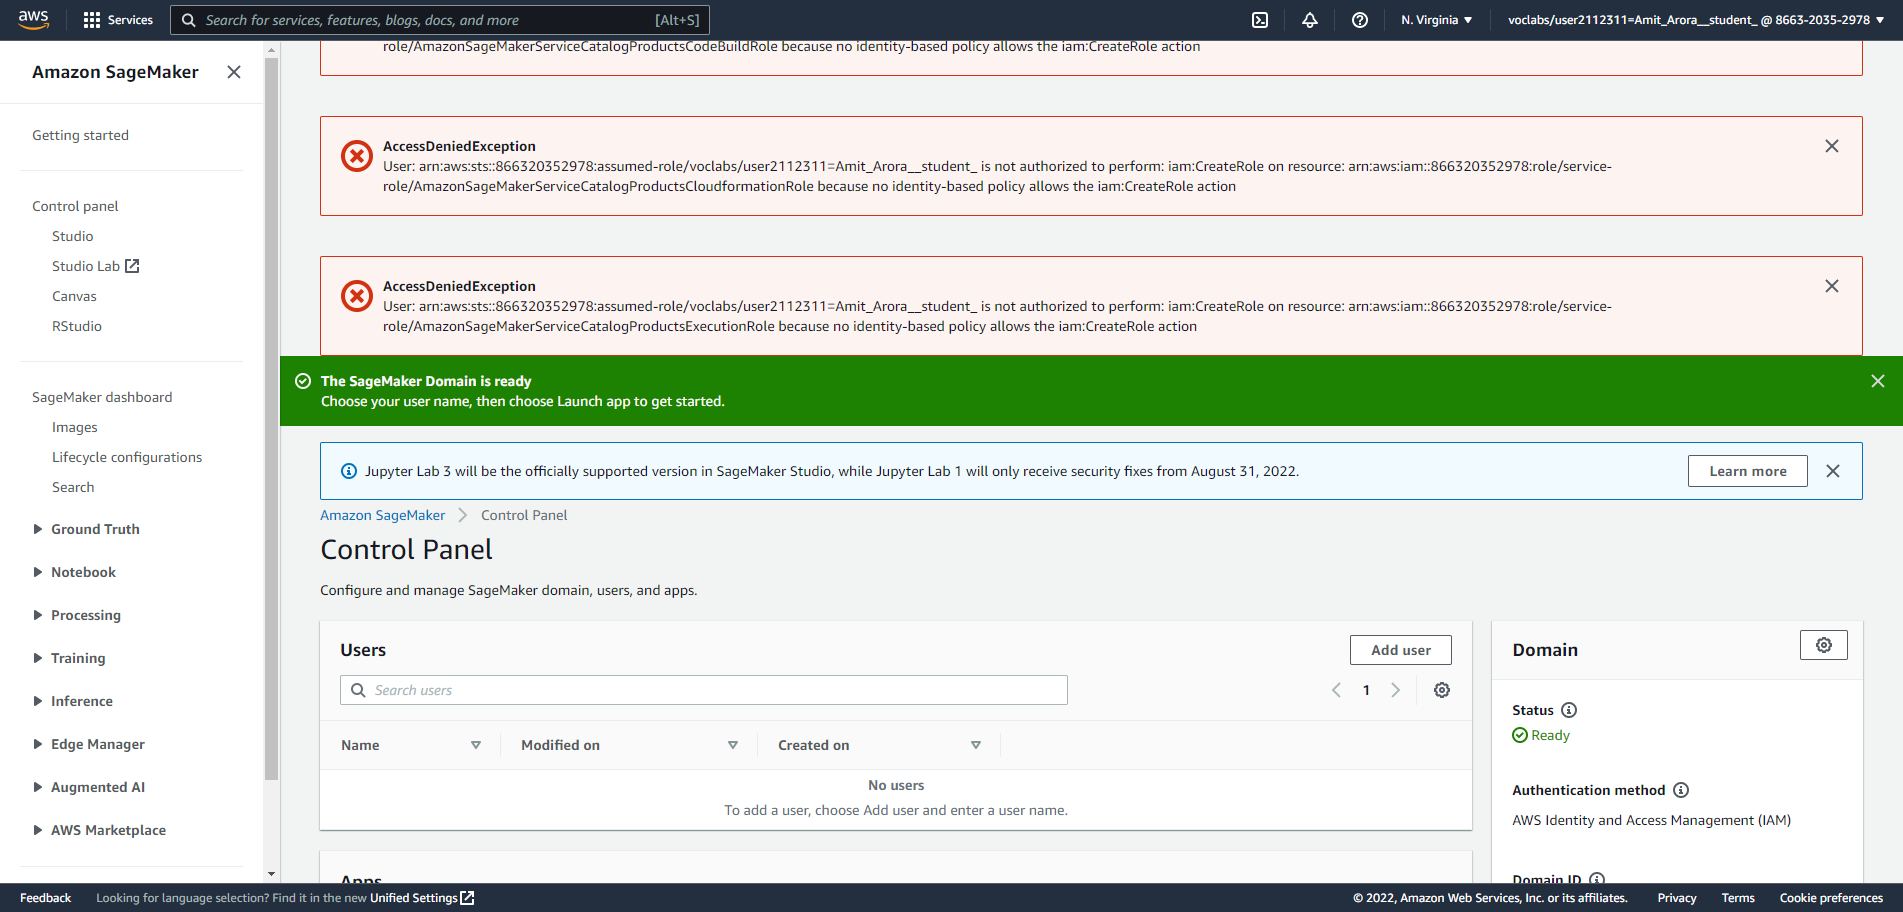
You will see several errors during this process, these can be ignore.
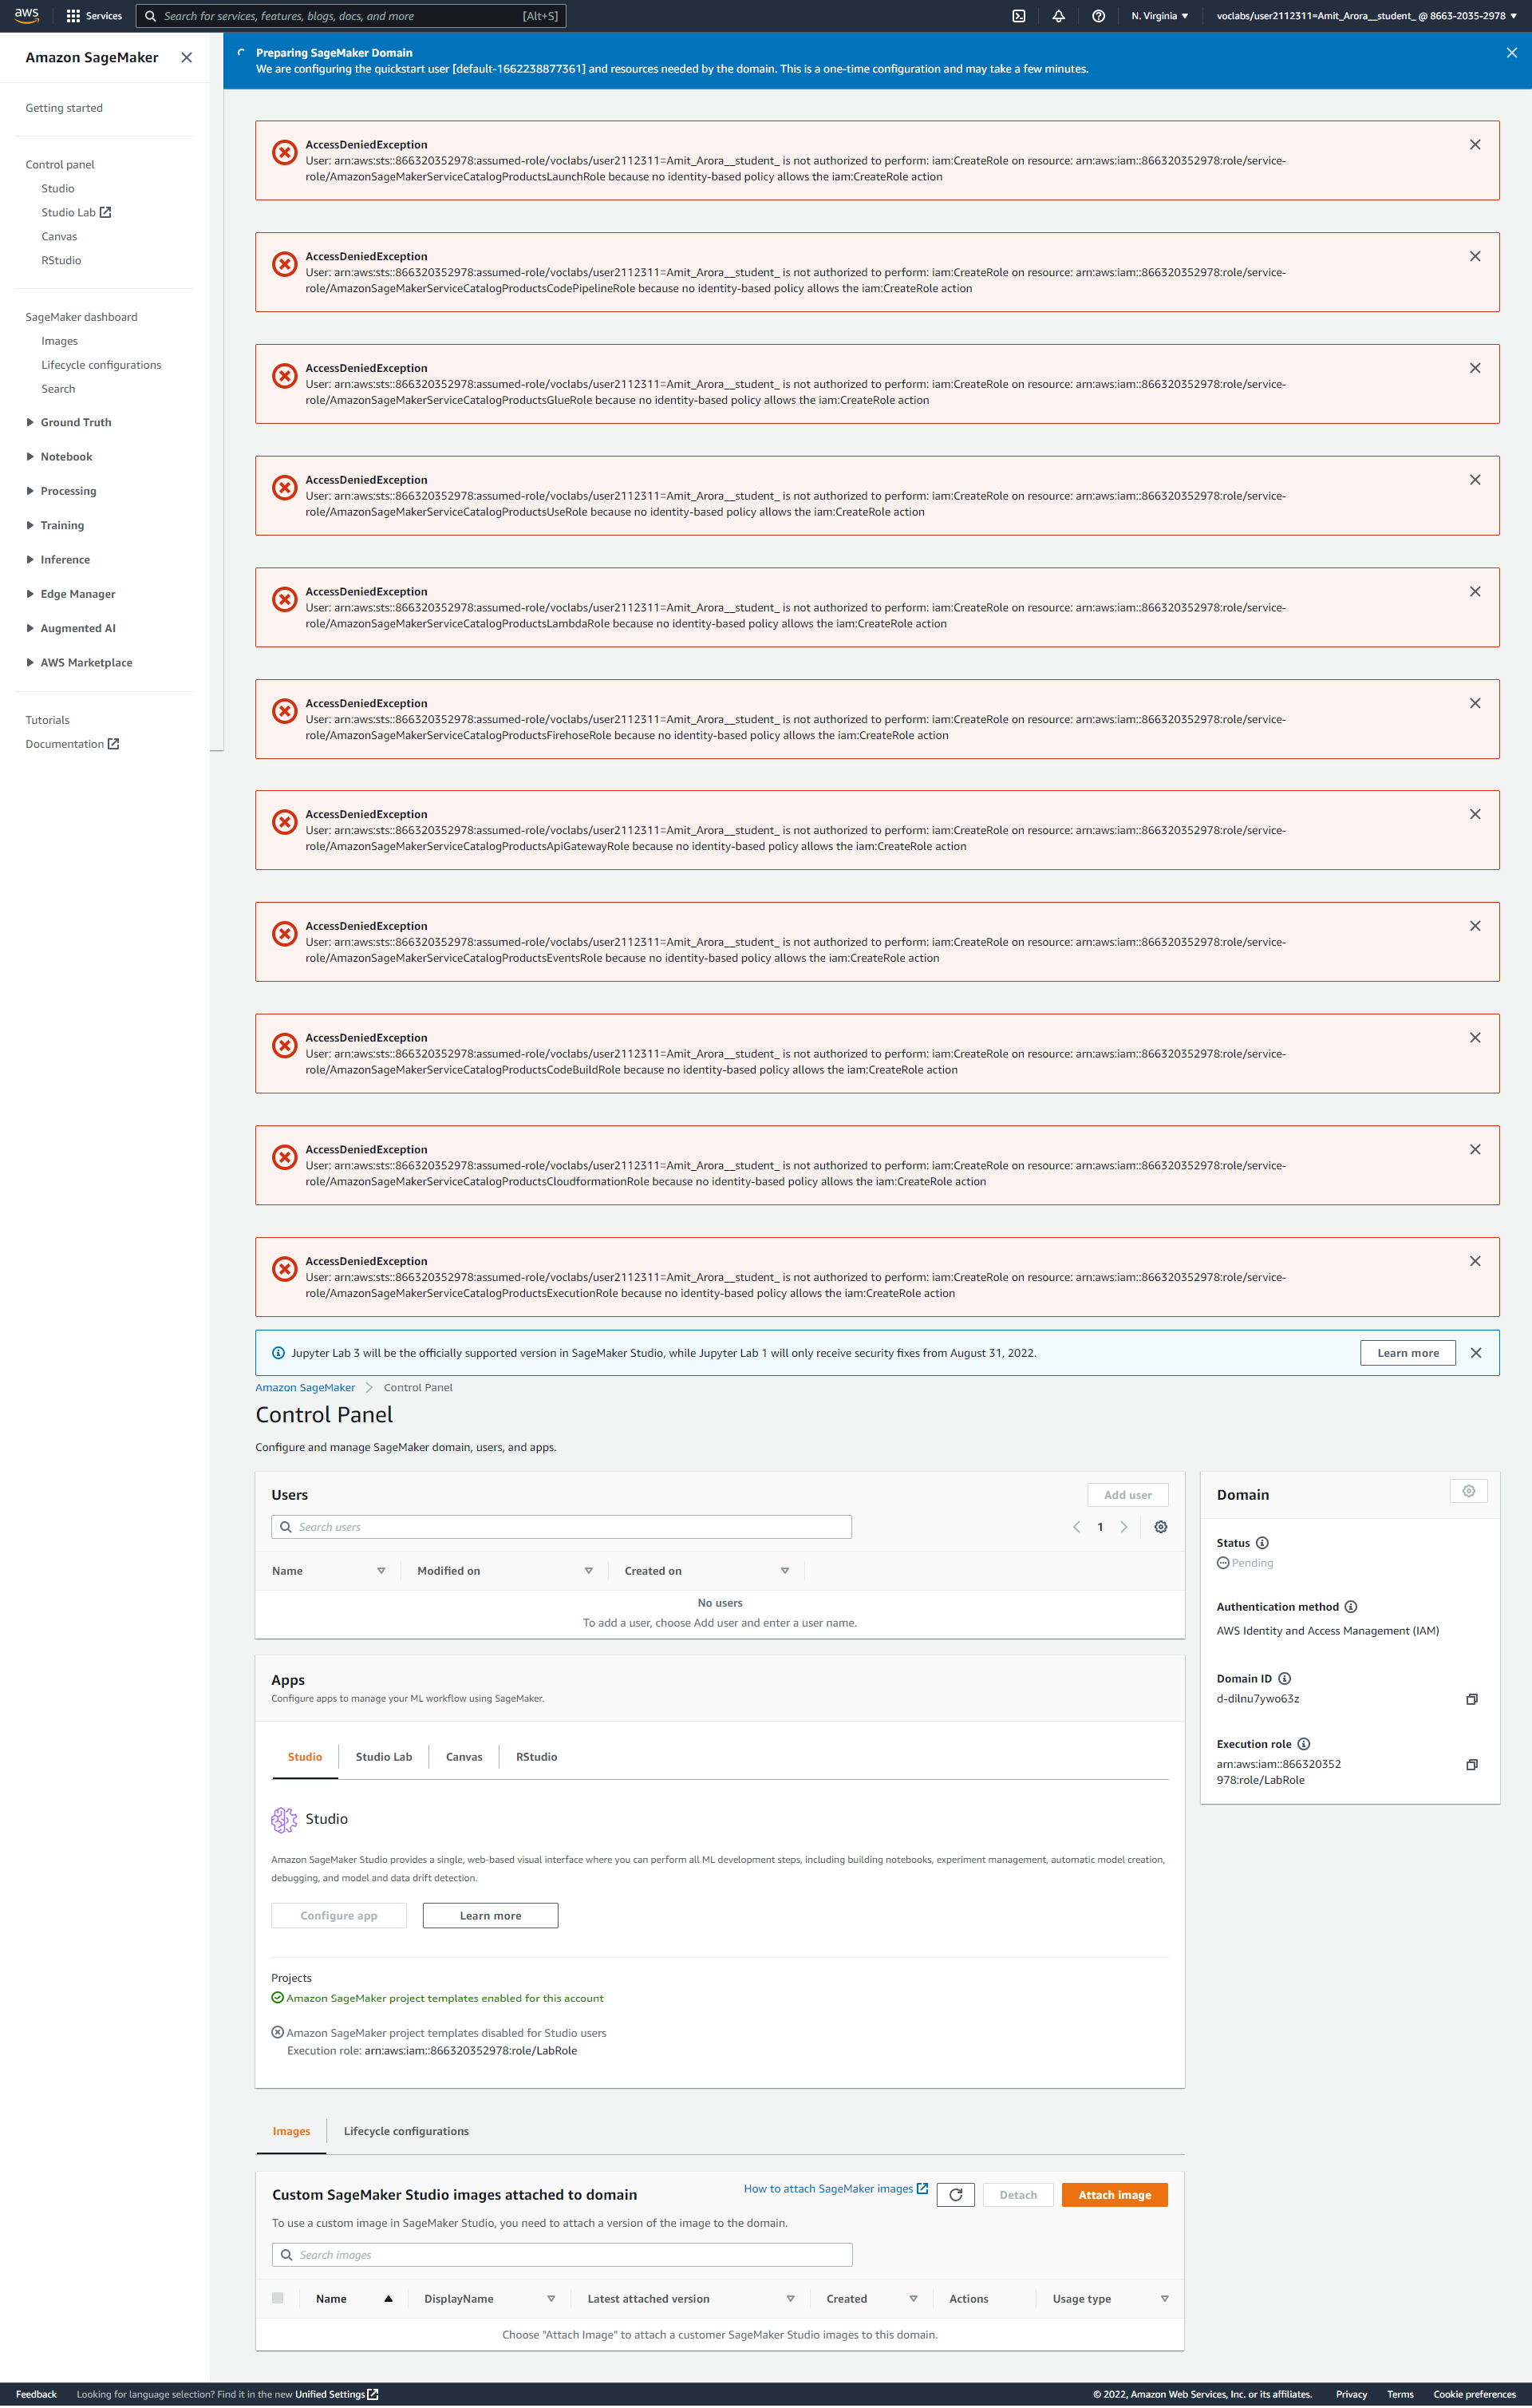
The domain creation process takes several minutes. Once the domain is ready you should see a screen like this.
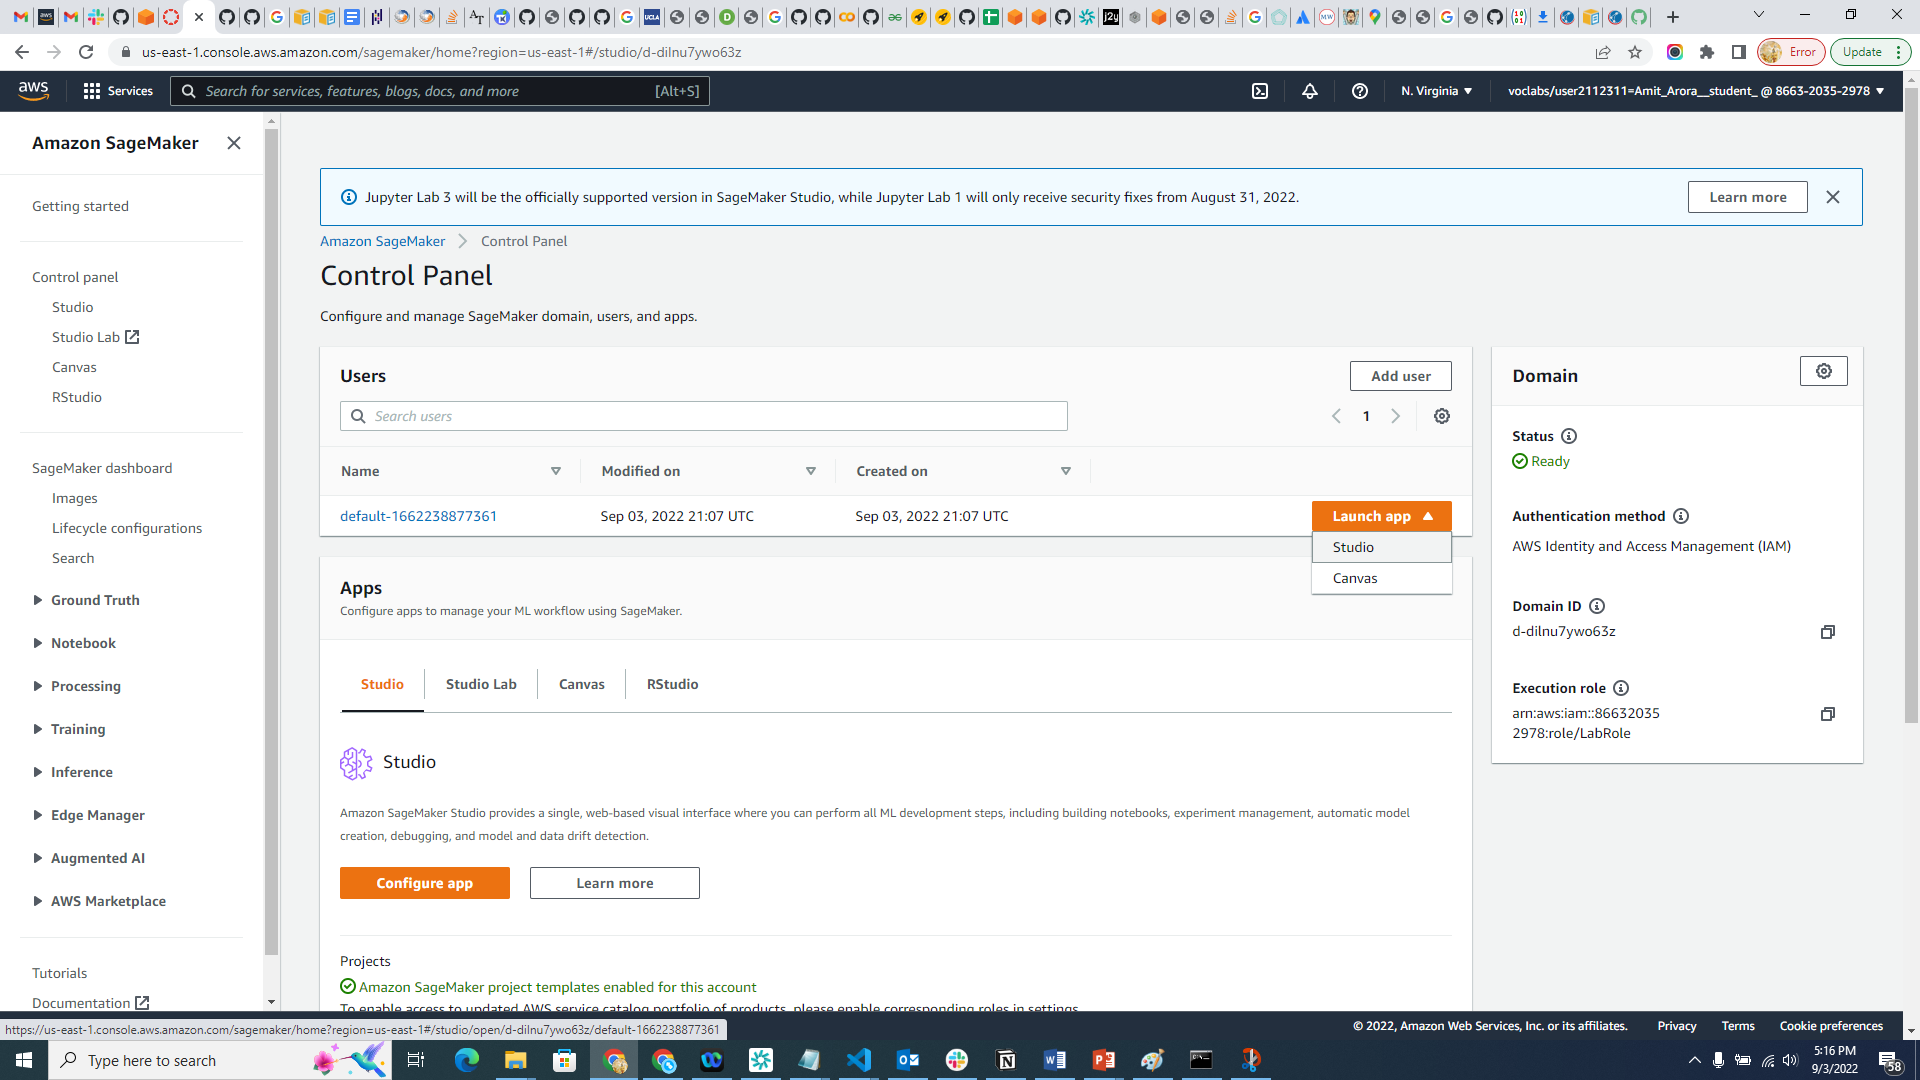
After the domain creation process is complete, we can launch the SageMaker studio app.
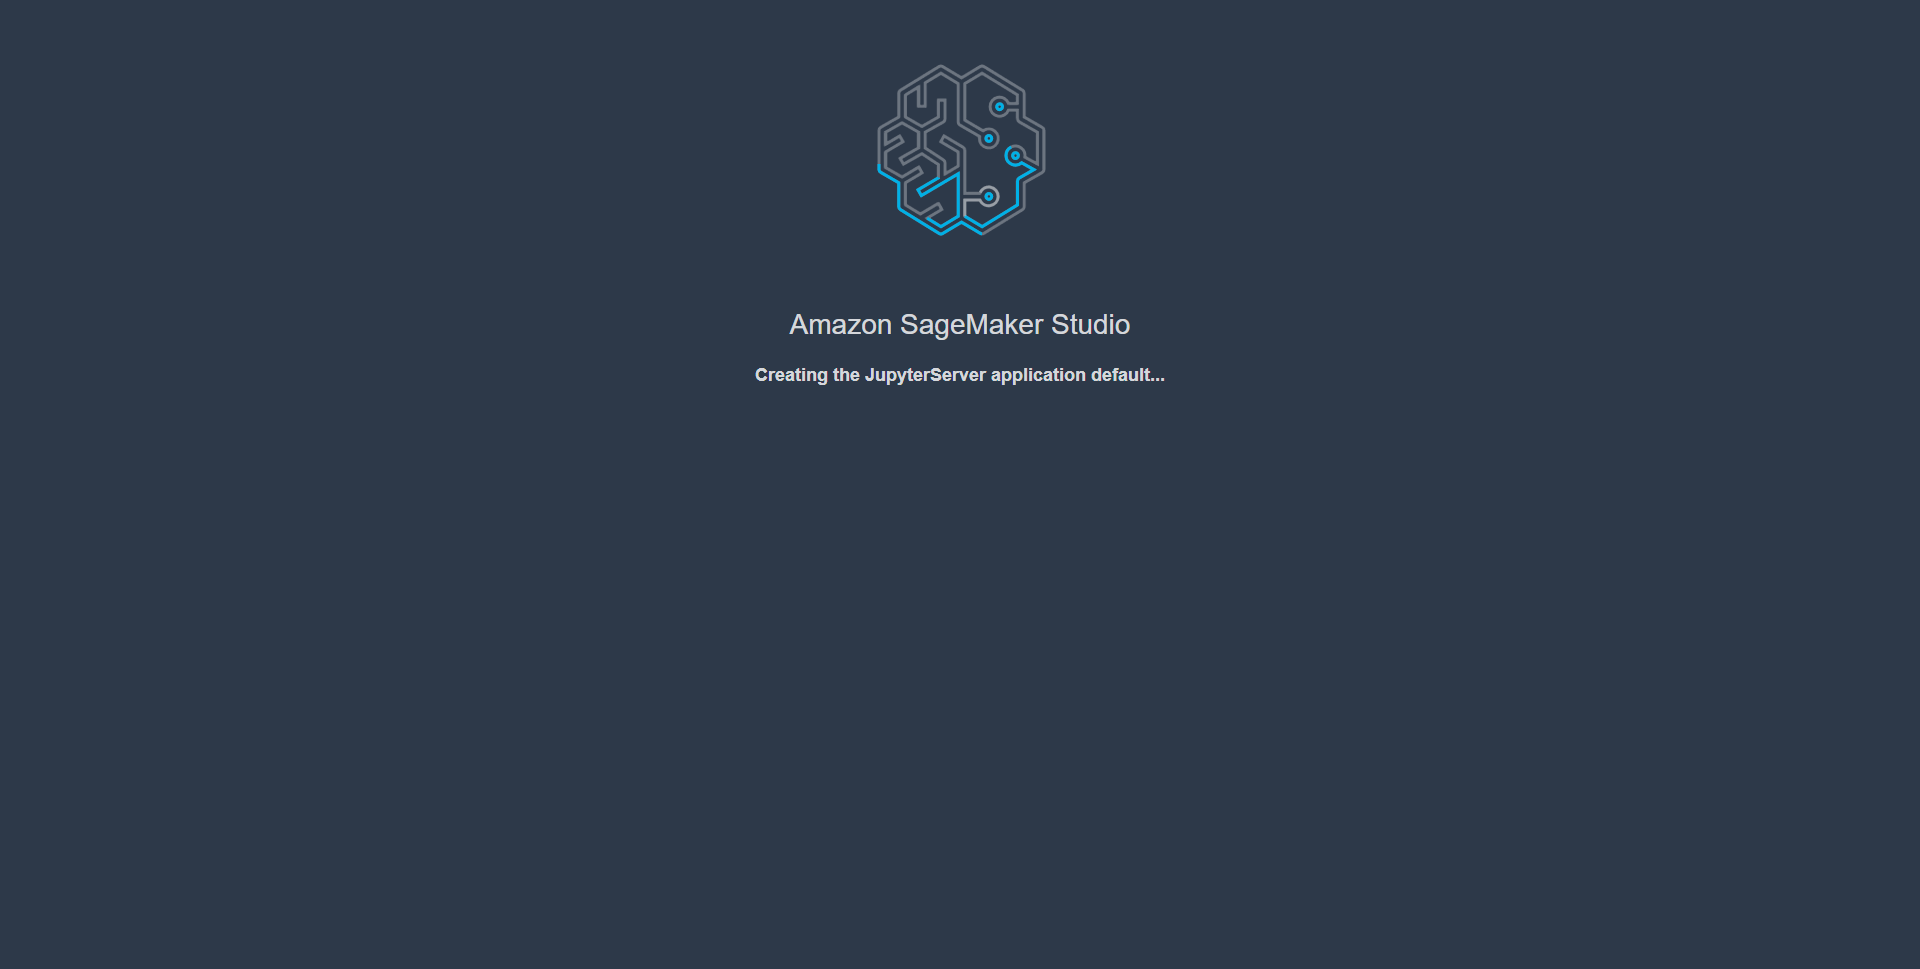
The SageMaker Studio app starting up.
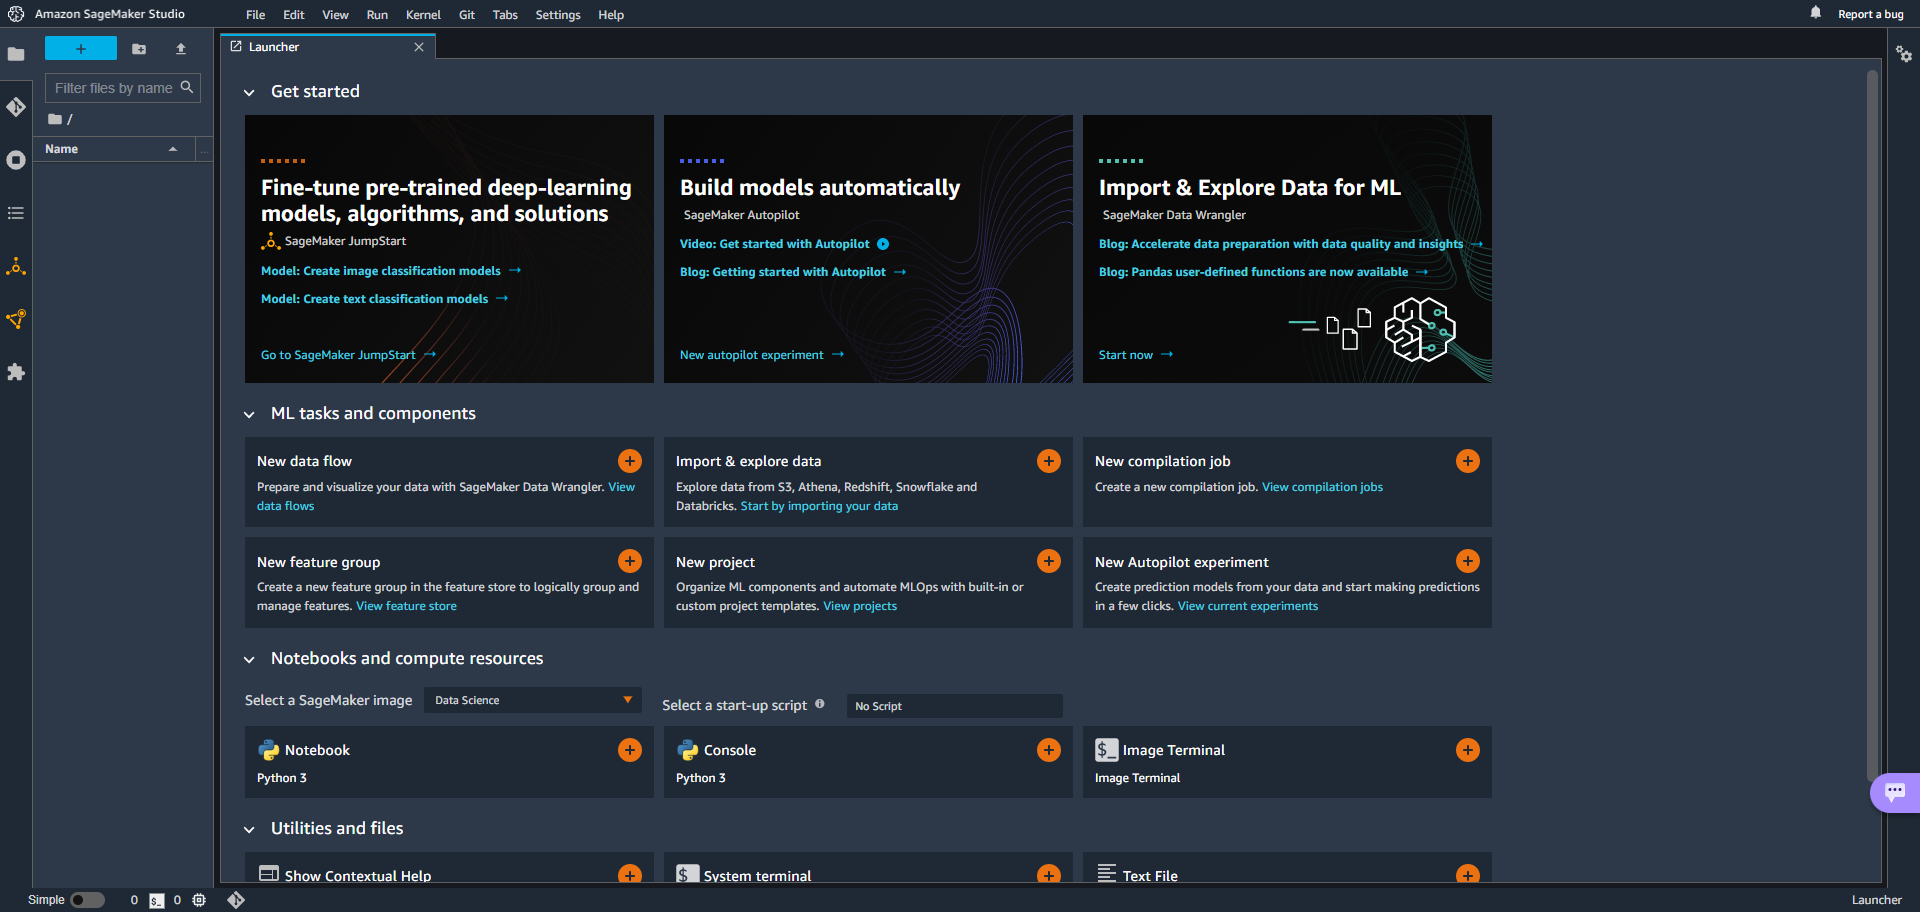
All done.
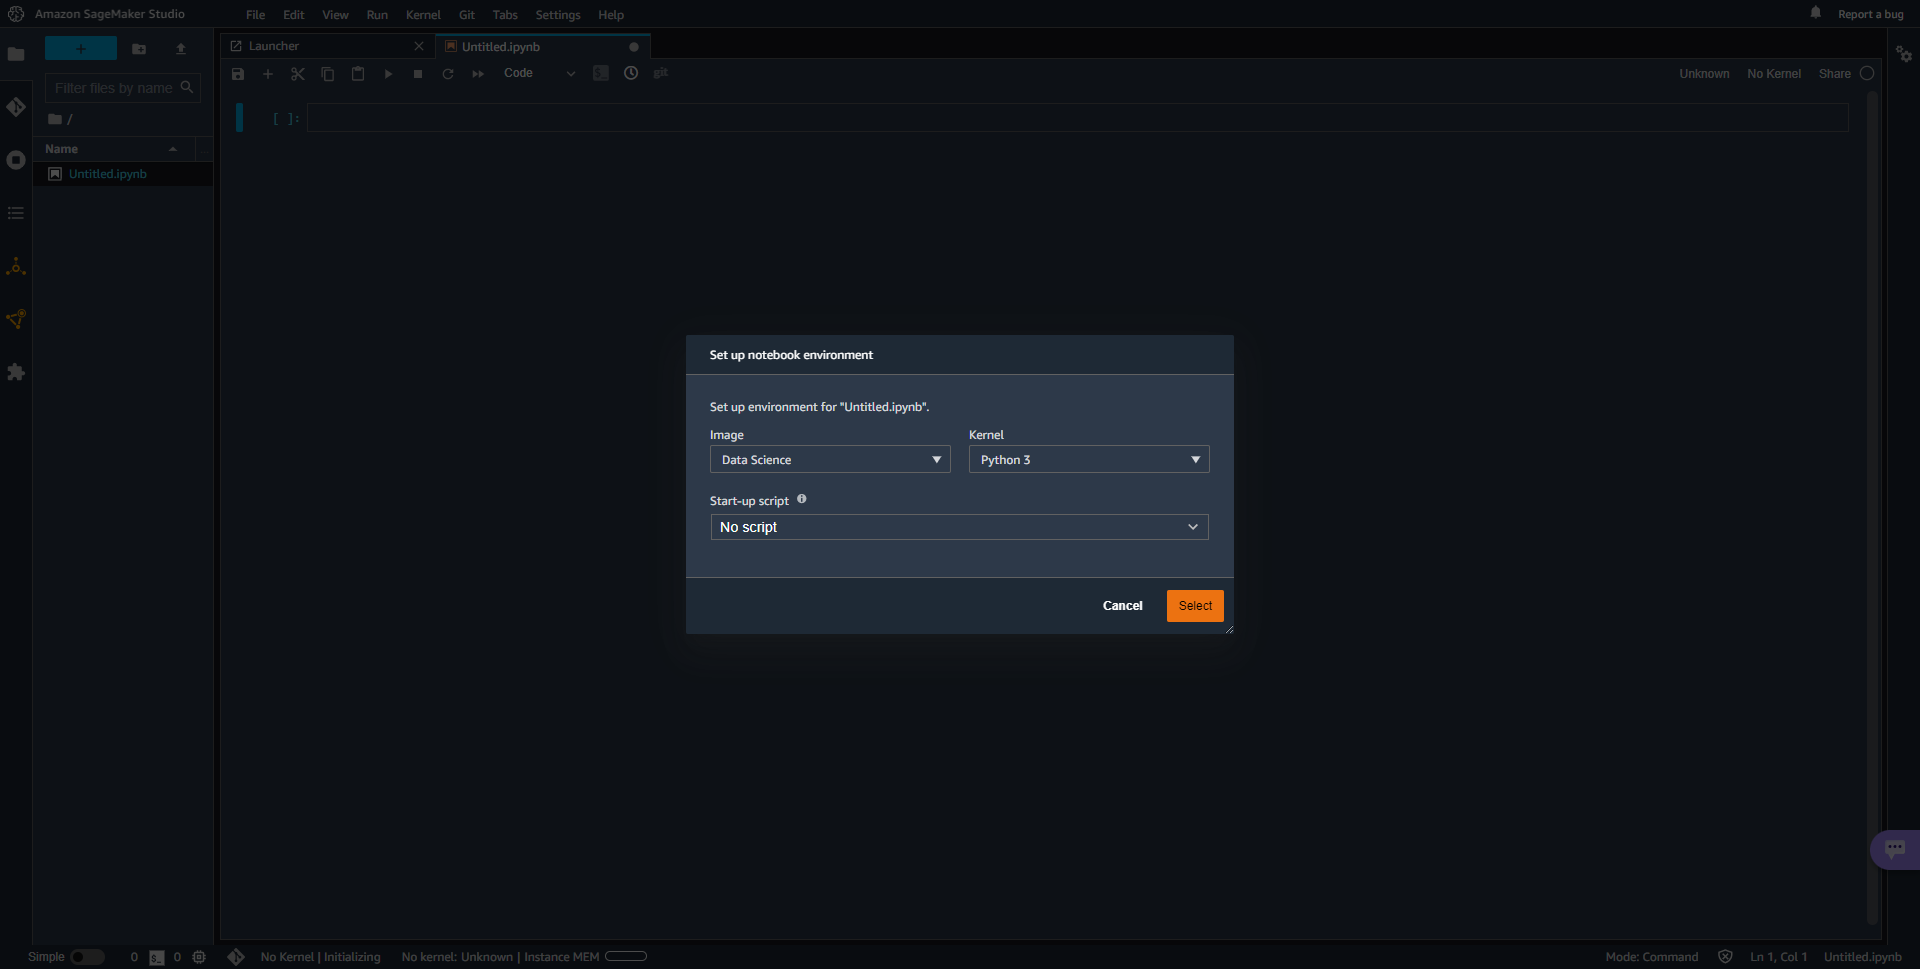
Create a new SageMaker Studio Notebook from the File -> New -> Notebook menu.

We can select different images and Python environments for the notebook we are creating, for now just use the default.
The notebook starting up.
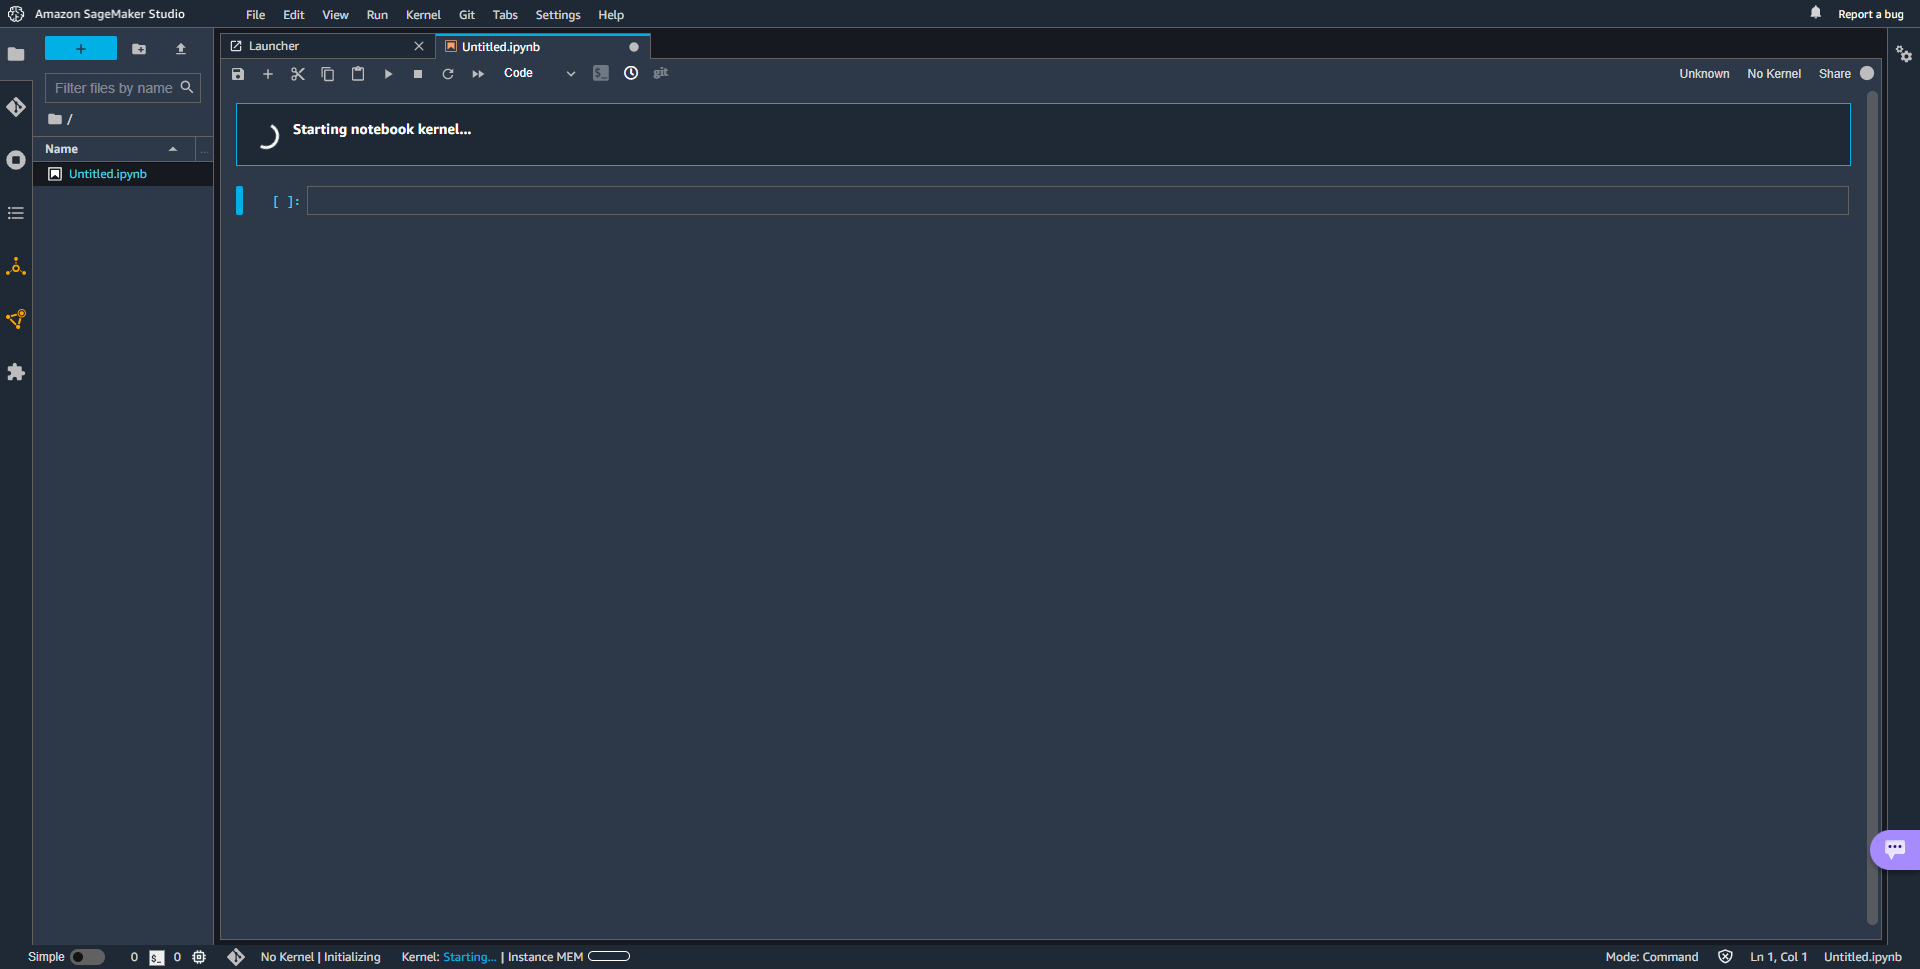
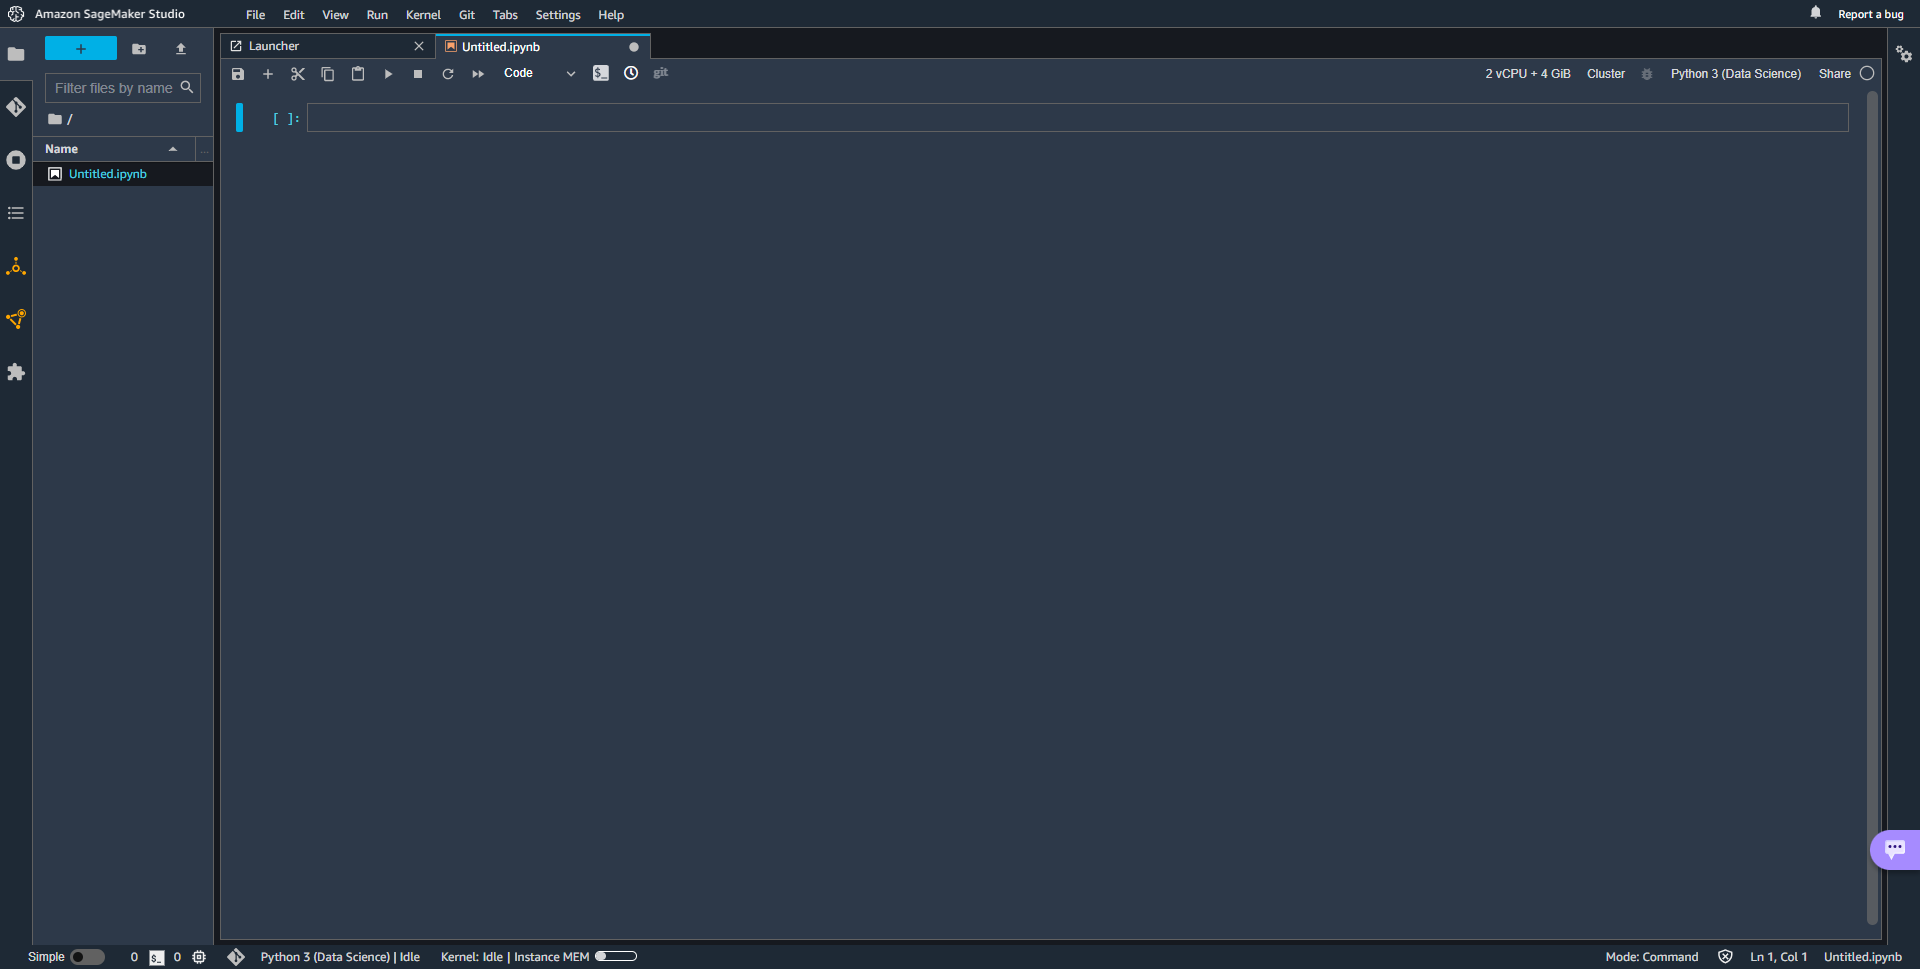
Started. The CPU and Memory on the top right corner represents the configuration of the VM that was created to host this notebook, note that we did not create this VM, but of course, it is there.
This is called a managed service, you get to work on the notebook without having to deal with the creation steps for the underlying infrastructure. You can easily change this configuration as per the requirements of the analytics/machine learning job you are running.
Use SageMaker Studio Notebook for analyzing a simple dataset
We will analyze the StateNames.csv dataset that is now present in your S3 bucket using the SageMaker Studio Notebook we just created.
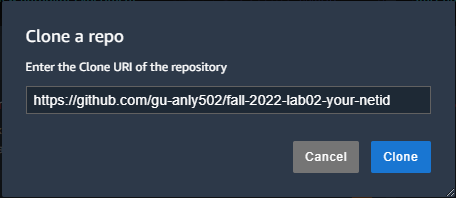
Clone the git repo for this lab into SageMaker.
The URL of the git repo would be of the format shown in the screenshot below.
Once the repo is cloned, double click on the repo folder and then on the analytics.ipynb file in the repo. This will open the Jupyter notebook in a SageMaker Studio Notebook.
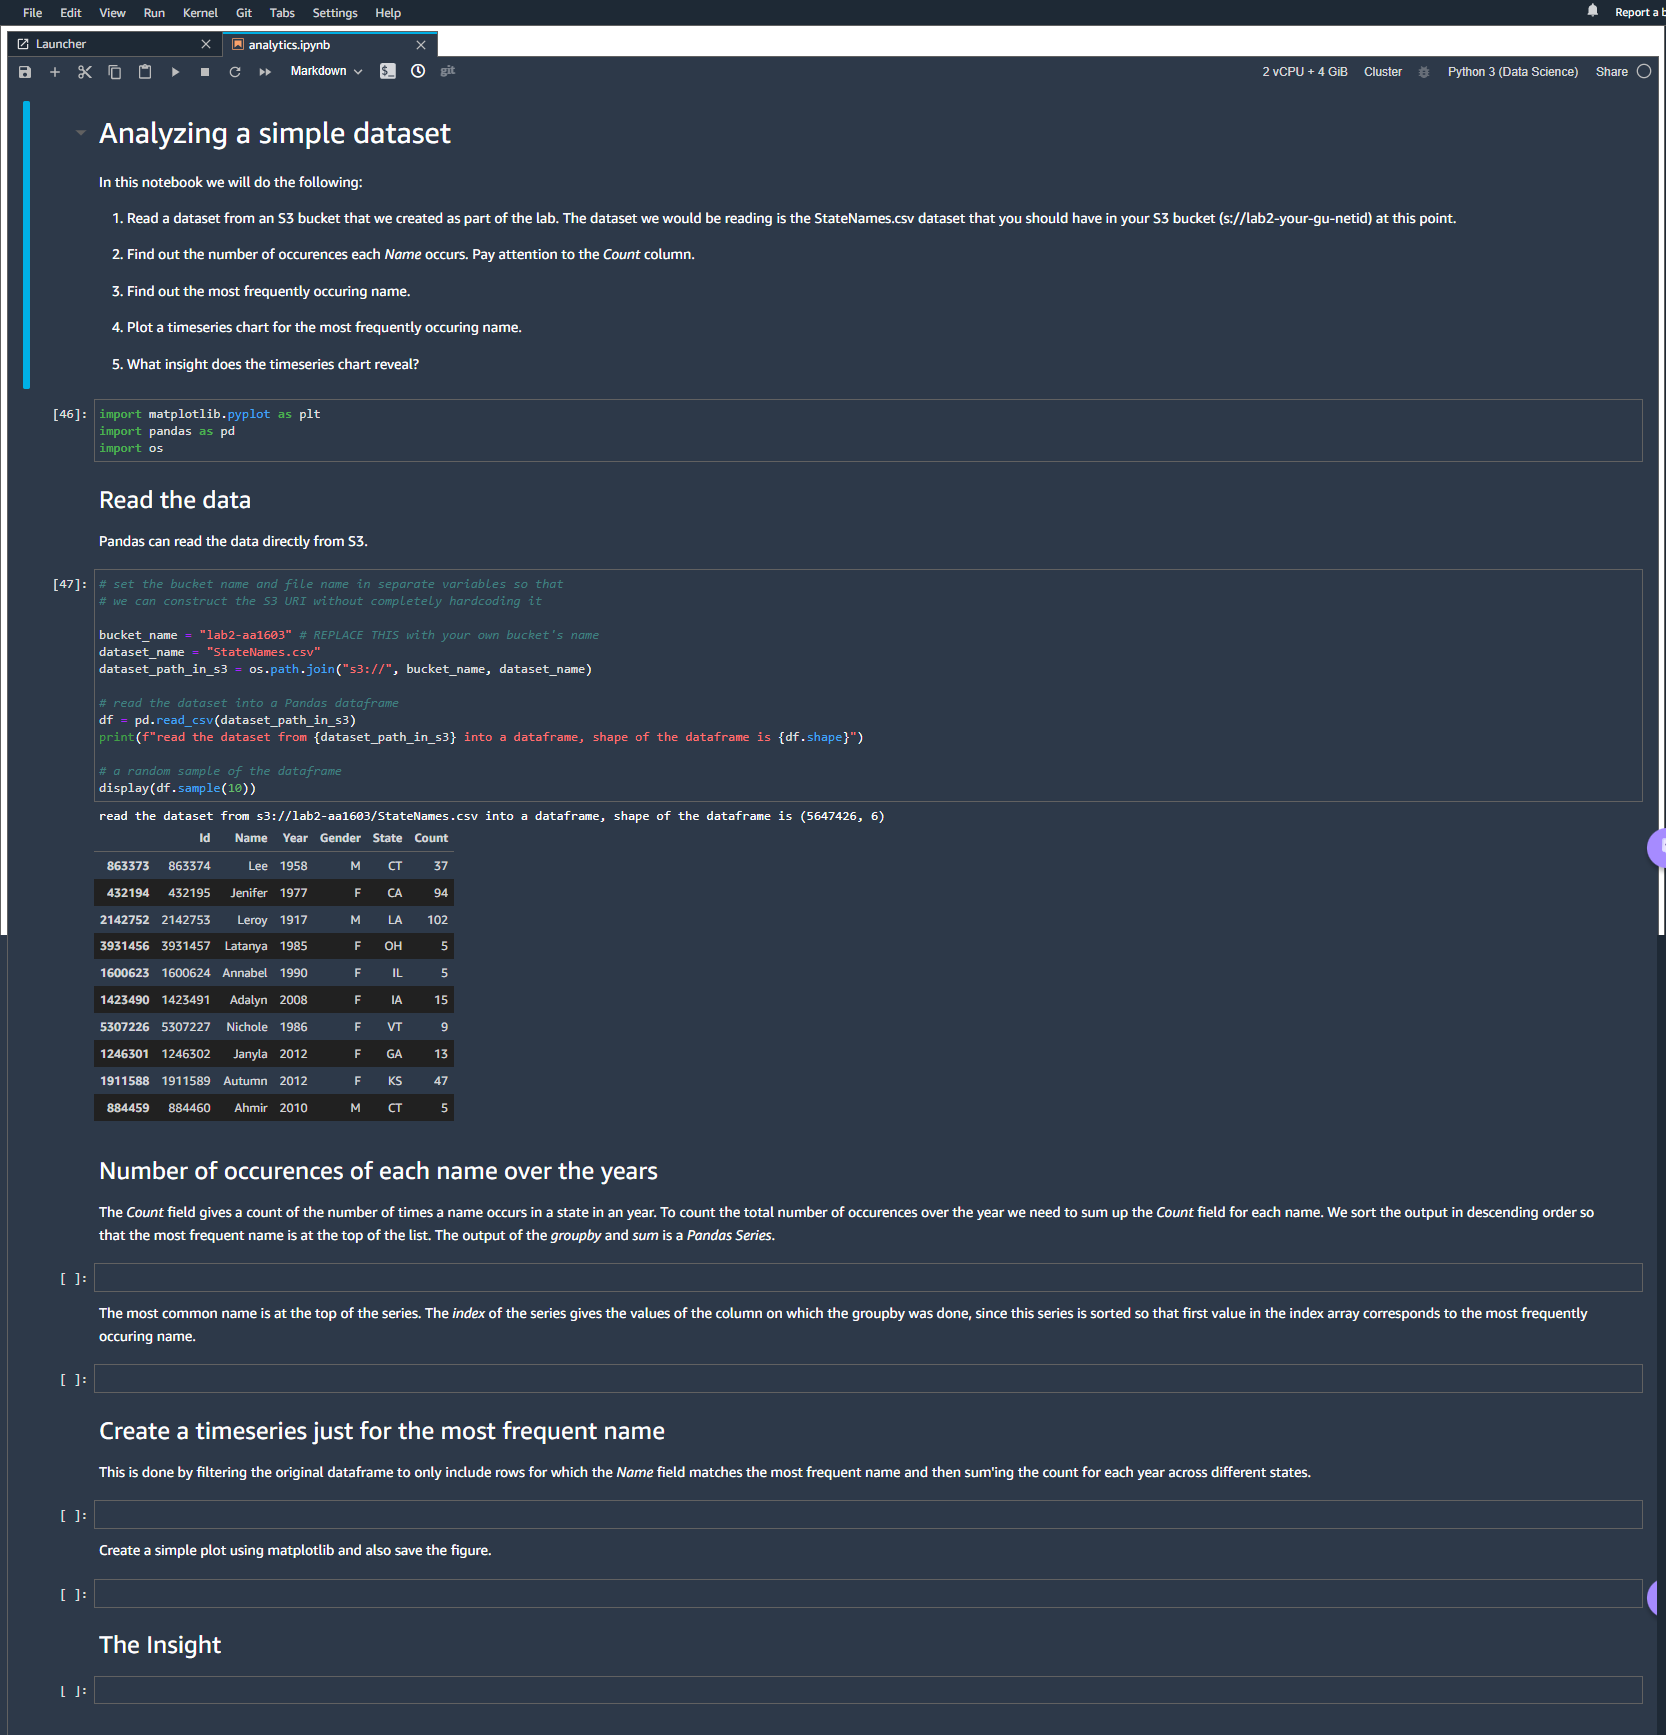
The notebook downloads the dataset from your S3 bucket and has some tasks for you to do. Complete tasks 2, 3, 4 and 5 marked in the notebook and checkin the completed notebook in the git repo.
Shutting down SageMaker Studio
It is important to shutdown SageMaker Studio when not in use so that you do not get billed for it when you are not using it.
Click on File -> Shutdown.
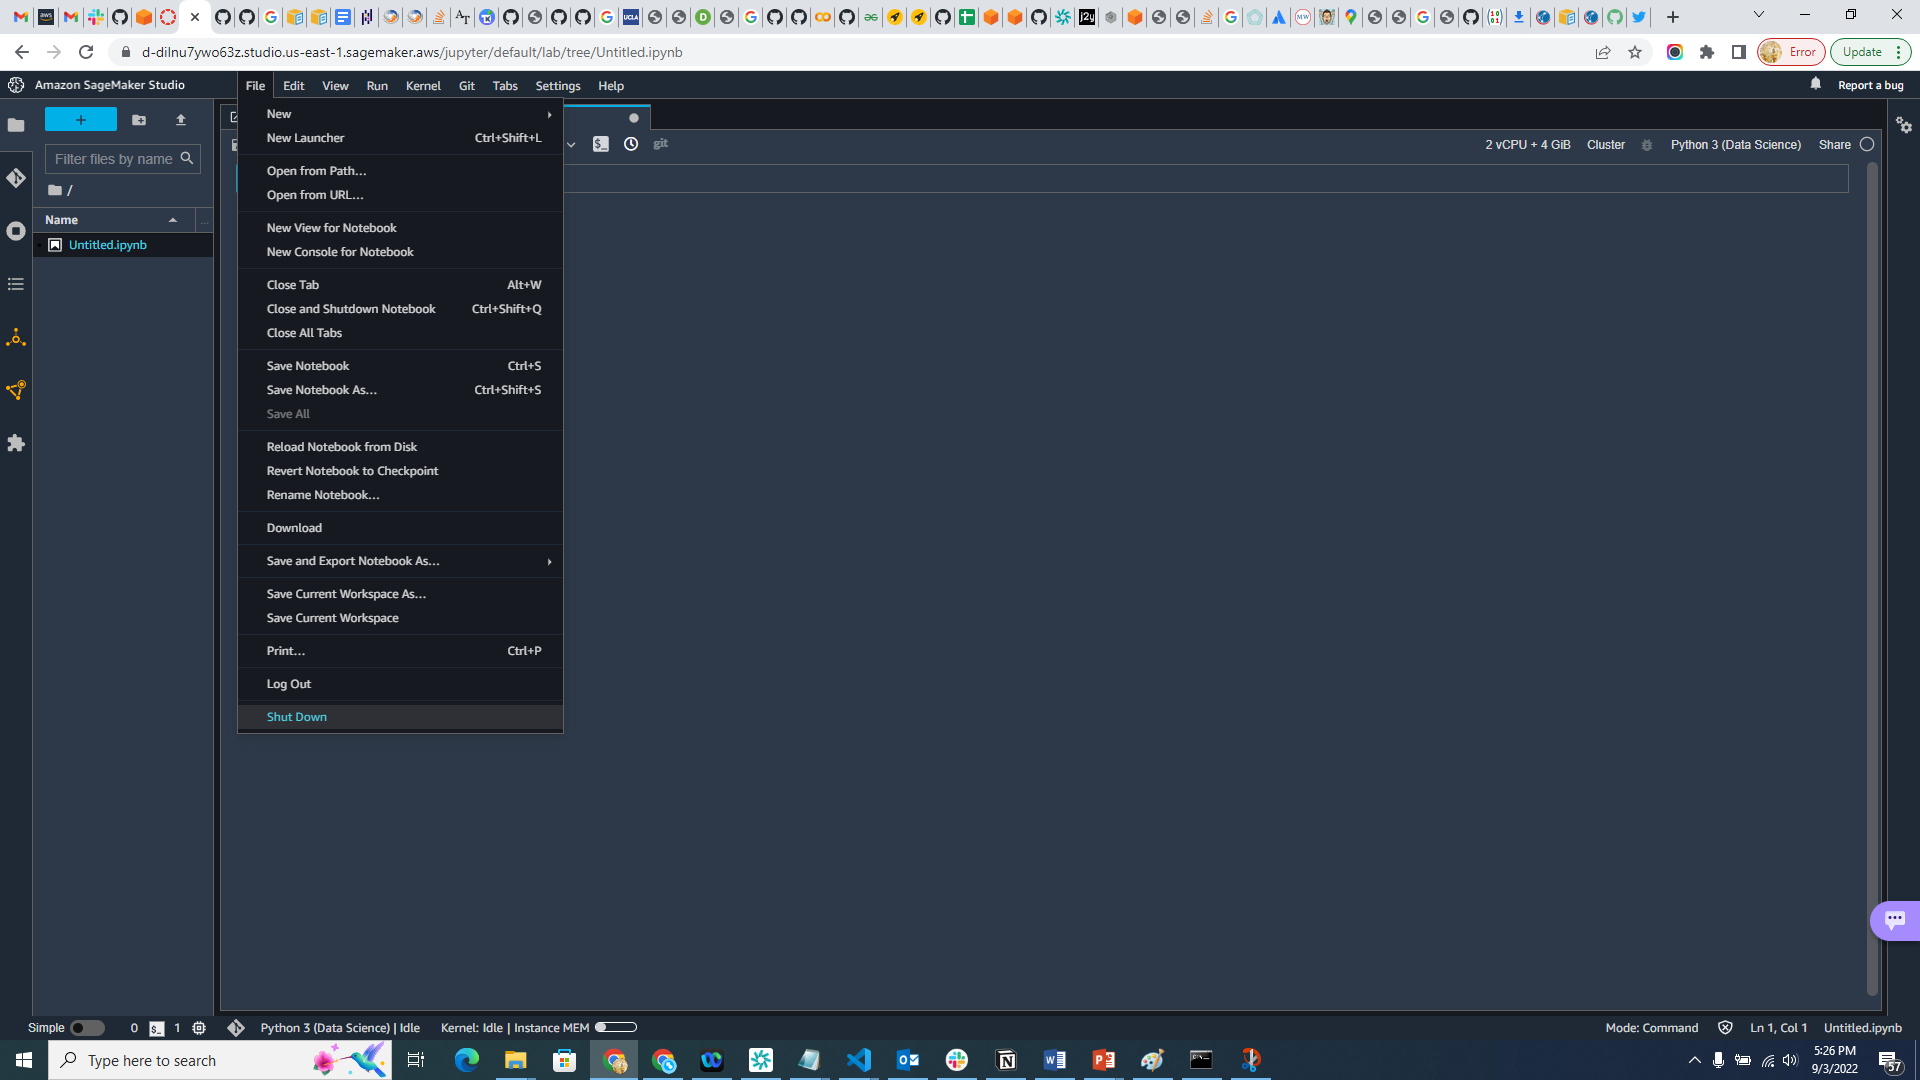
Select Shutdown All.

At the end of this lab:
Make sure you shutdown SageMaker Studio.
Make sure you shutdown EC2 VM.
Make sure you have ended the lab in AWS Educate by pressing the End Lab button.