Accept Microsoft Azure subscription ownership
Follow these instructions to setup your Azure environment. The screenshots may look a bit different than what you are seeing, but the flow is the same.
Accept the subscription ownership
This is only done once.
A fully functional Microsoft Azure subscription will be created for you with credits. Most Azure services are available in this account.
Steps to accept and access your Azure subscription:
- In your student email inbox, you will have an email from Microsoft Azure azure-noreply@microsoft.com with the subject You’ve been asked to accept Azure subscription ownership.
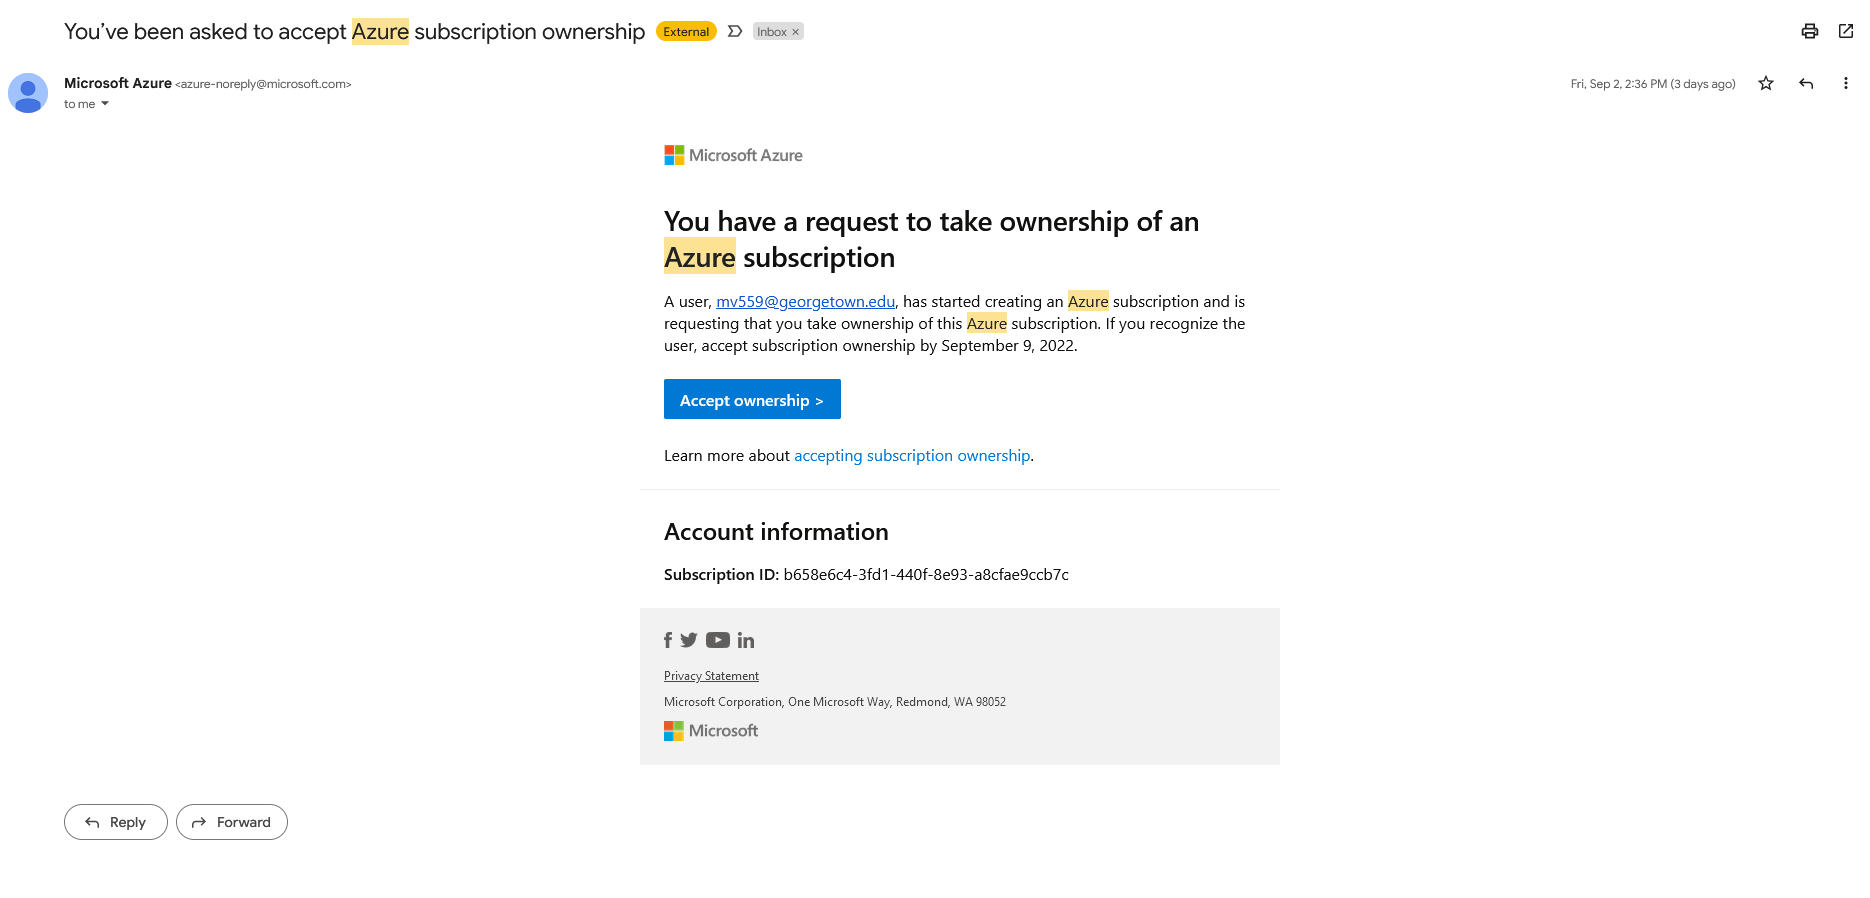
- Open the email.
- Right click in the blue box where it says Accept ownership and open the link in a private/incognito browser page
It is always recommended that you do any of the cloud work in a private/incognito browser window
In the sign in page enter your
NetID@georgetown.eduNetID@georgetown.edu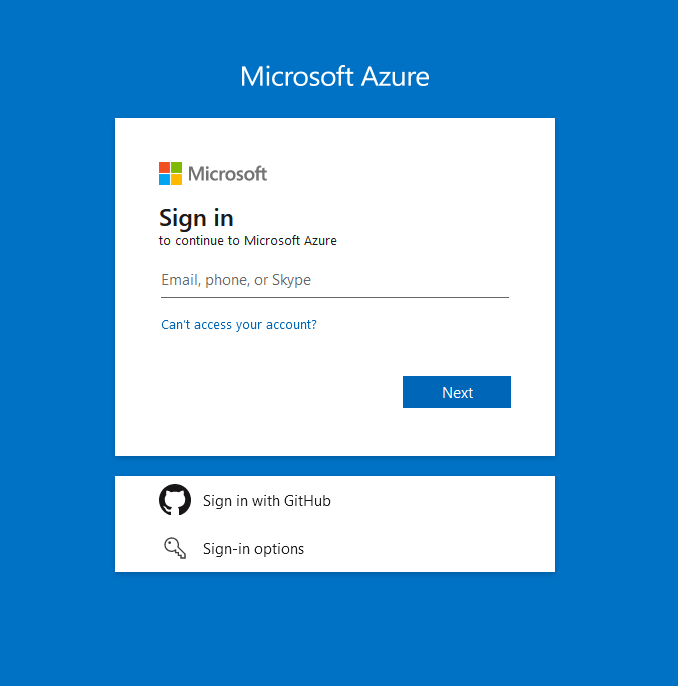
Authenticate with Georgetown University credentials and two-factor-authentication
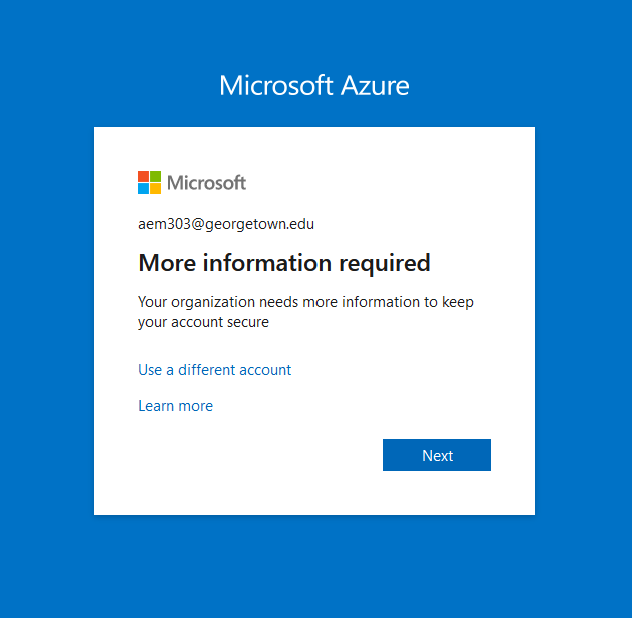
You will be prompted for additional information, click Next
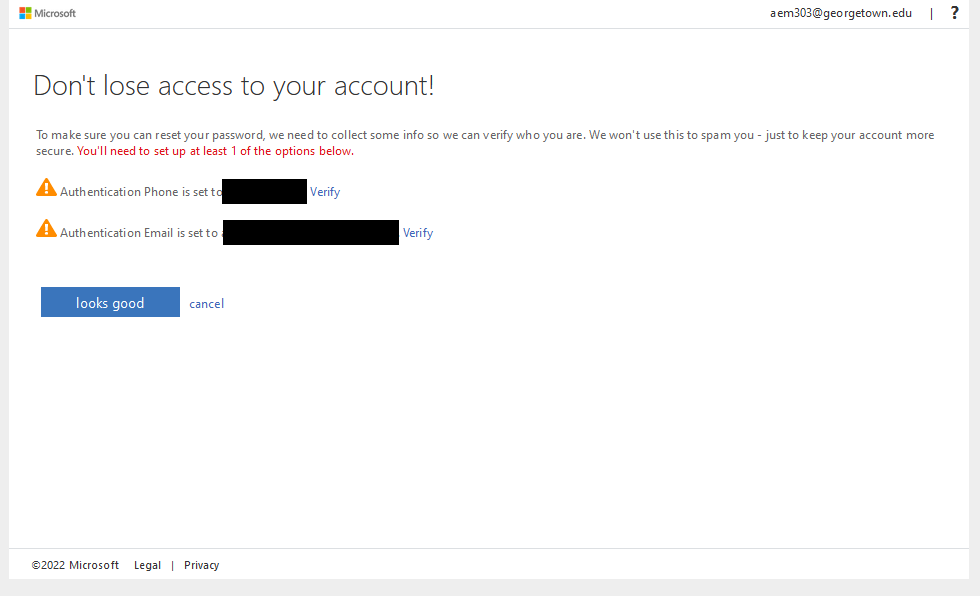
Once you enter all additional information, verify and click looks good
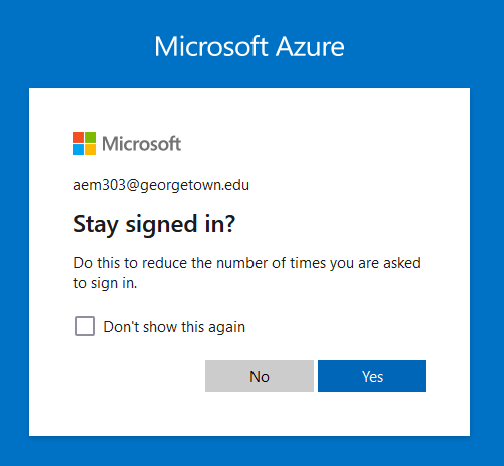
You will continue the sign in process and asked if you would like to stayed sign in. Since you are using a private browser it doesn’t matter.
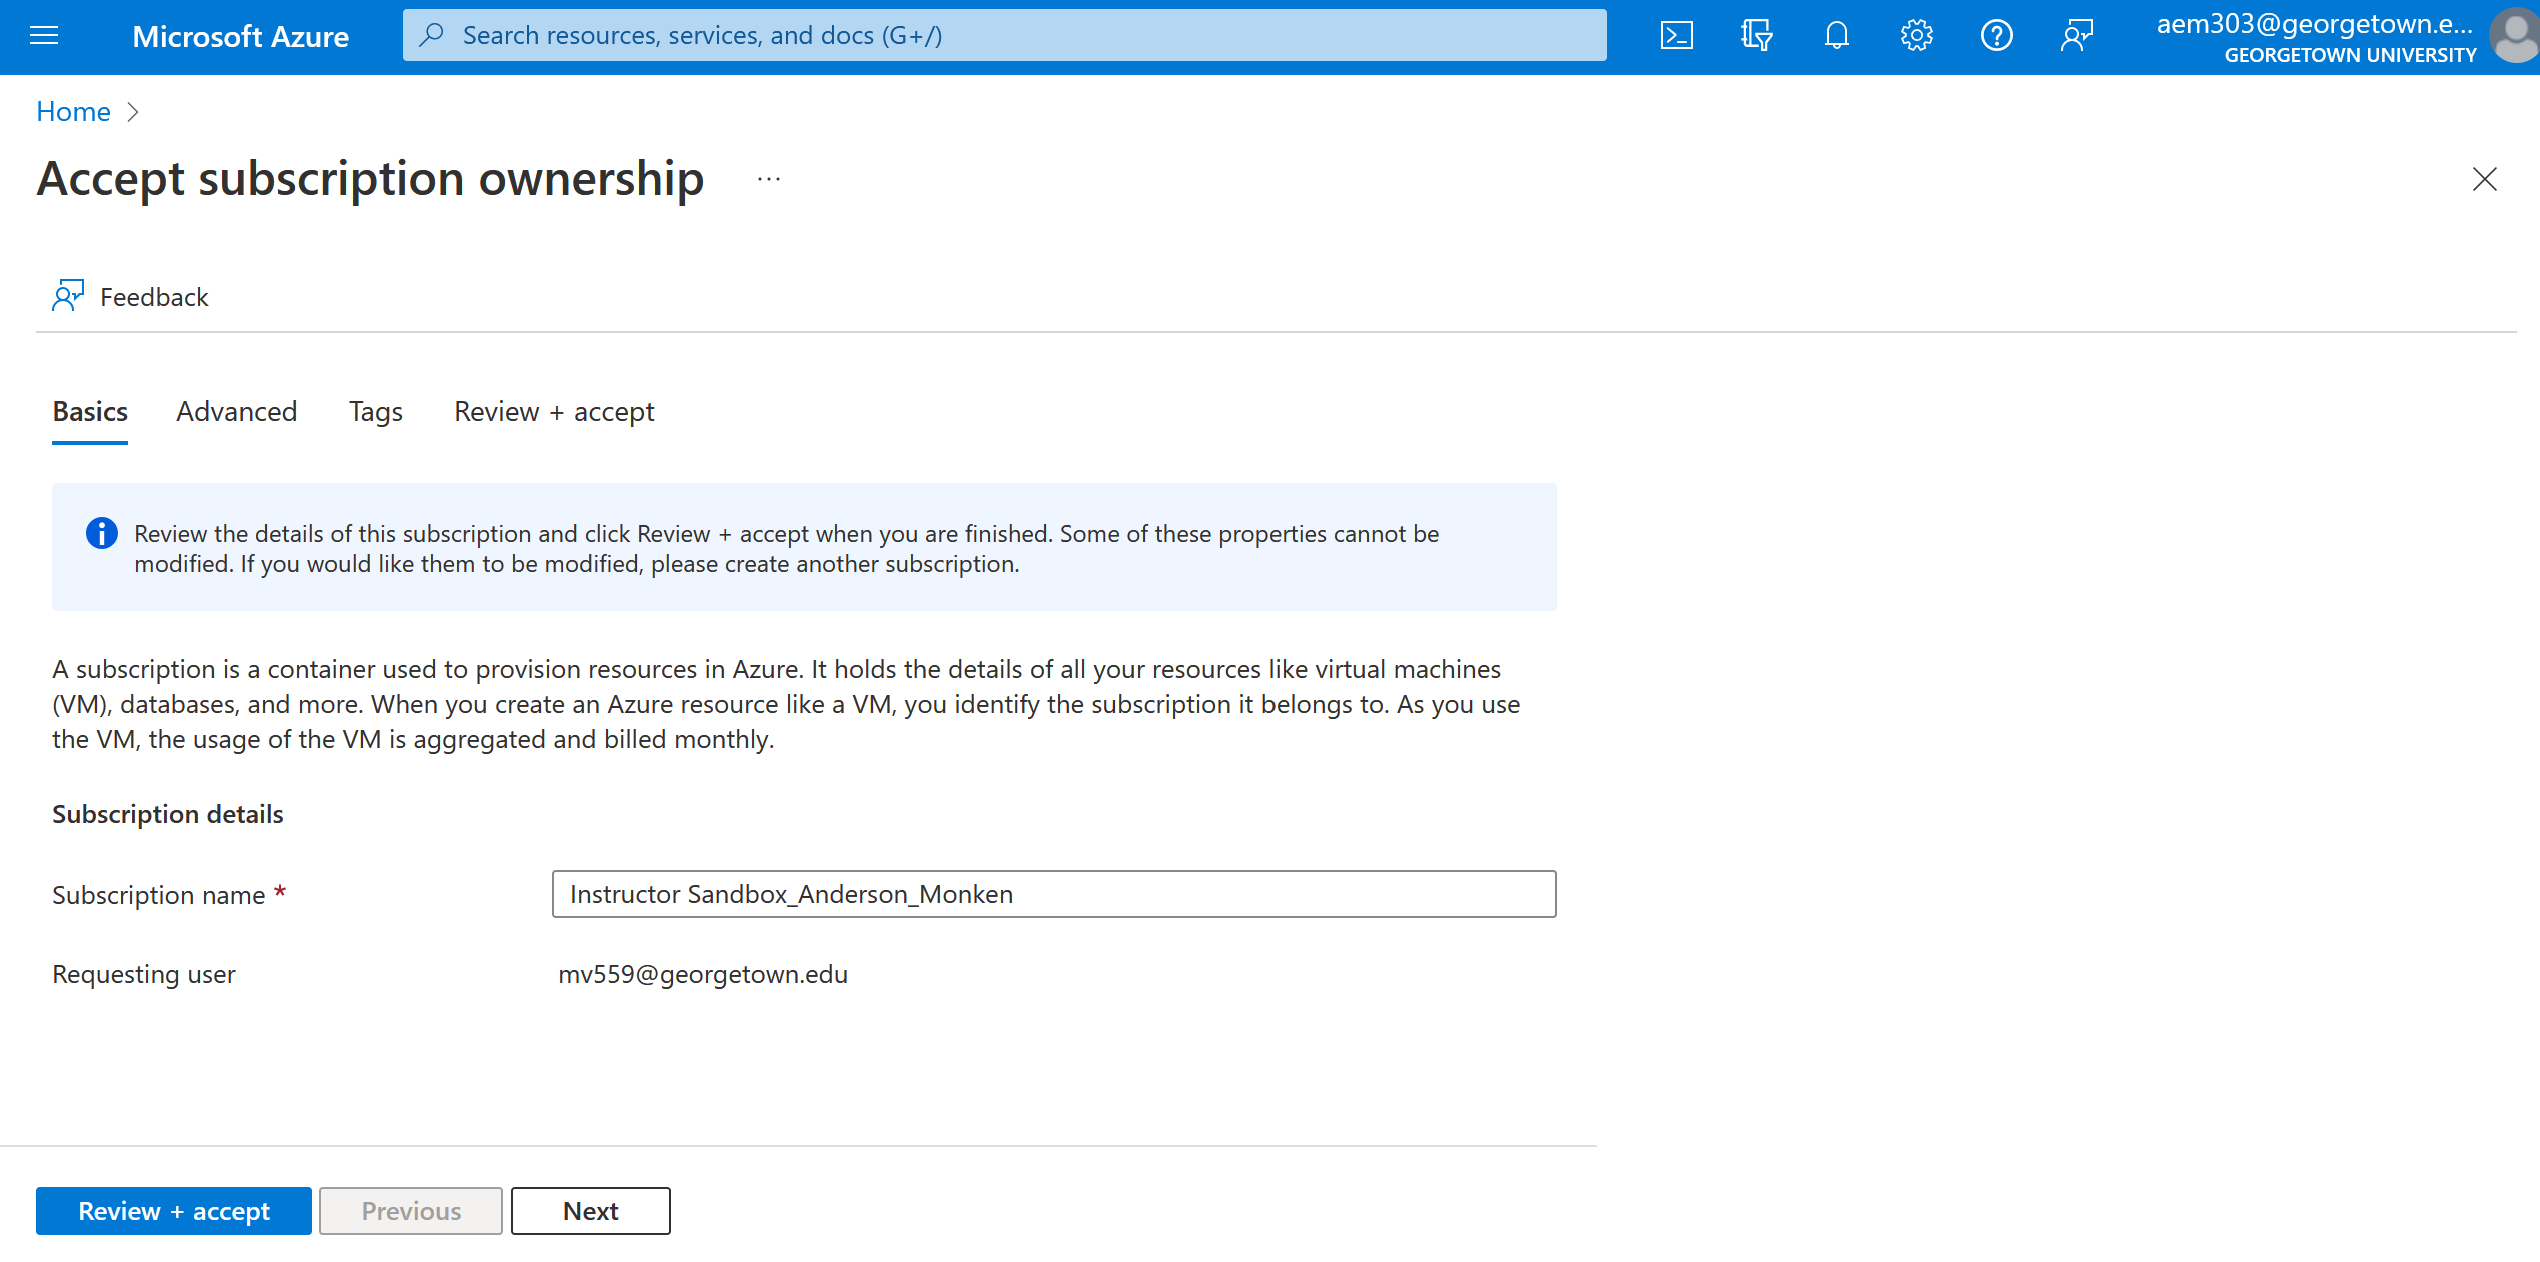
You will end up in the Accept subscription ownership page. Click Review + accept
Click Accept

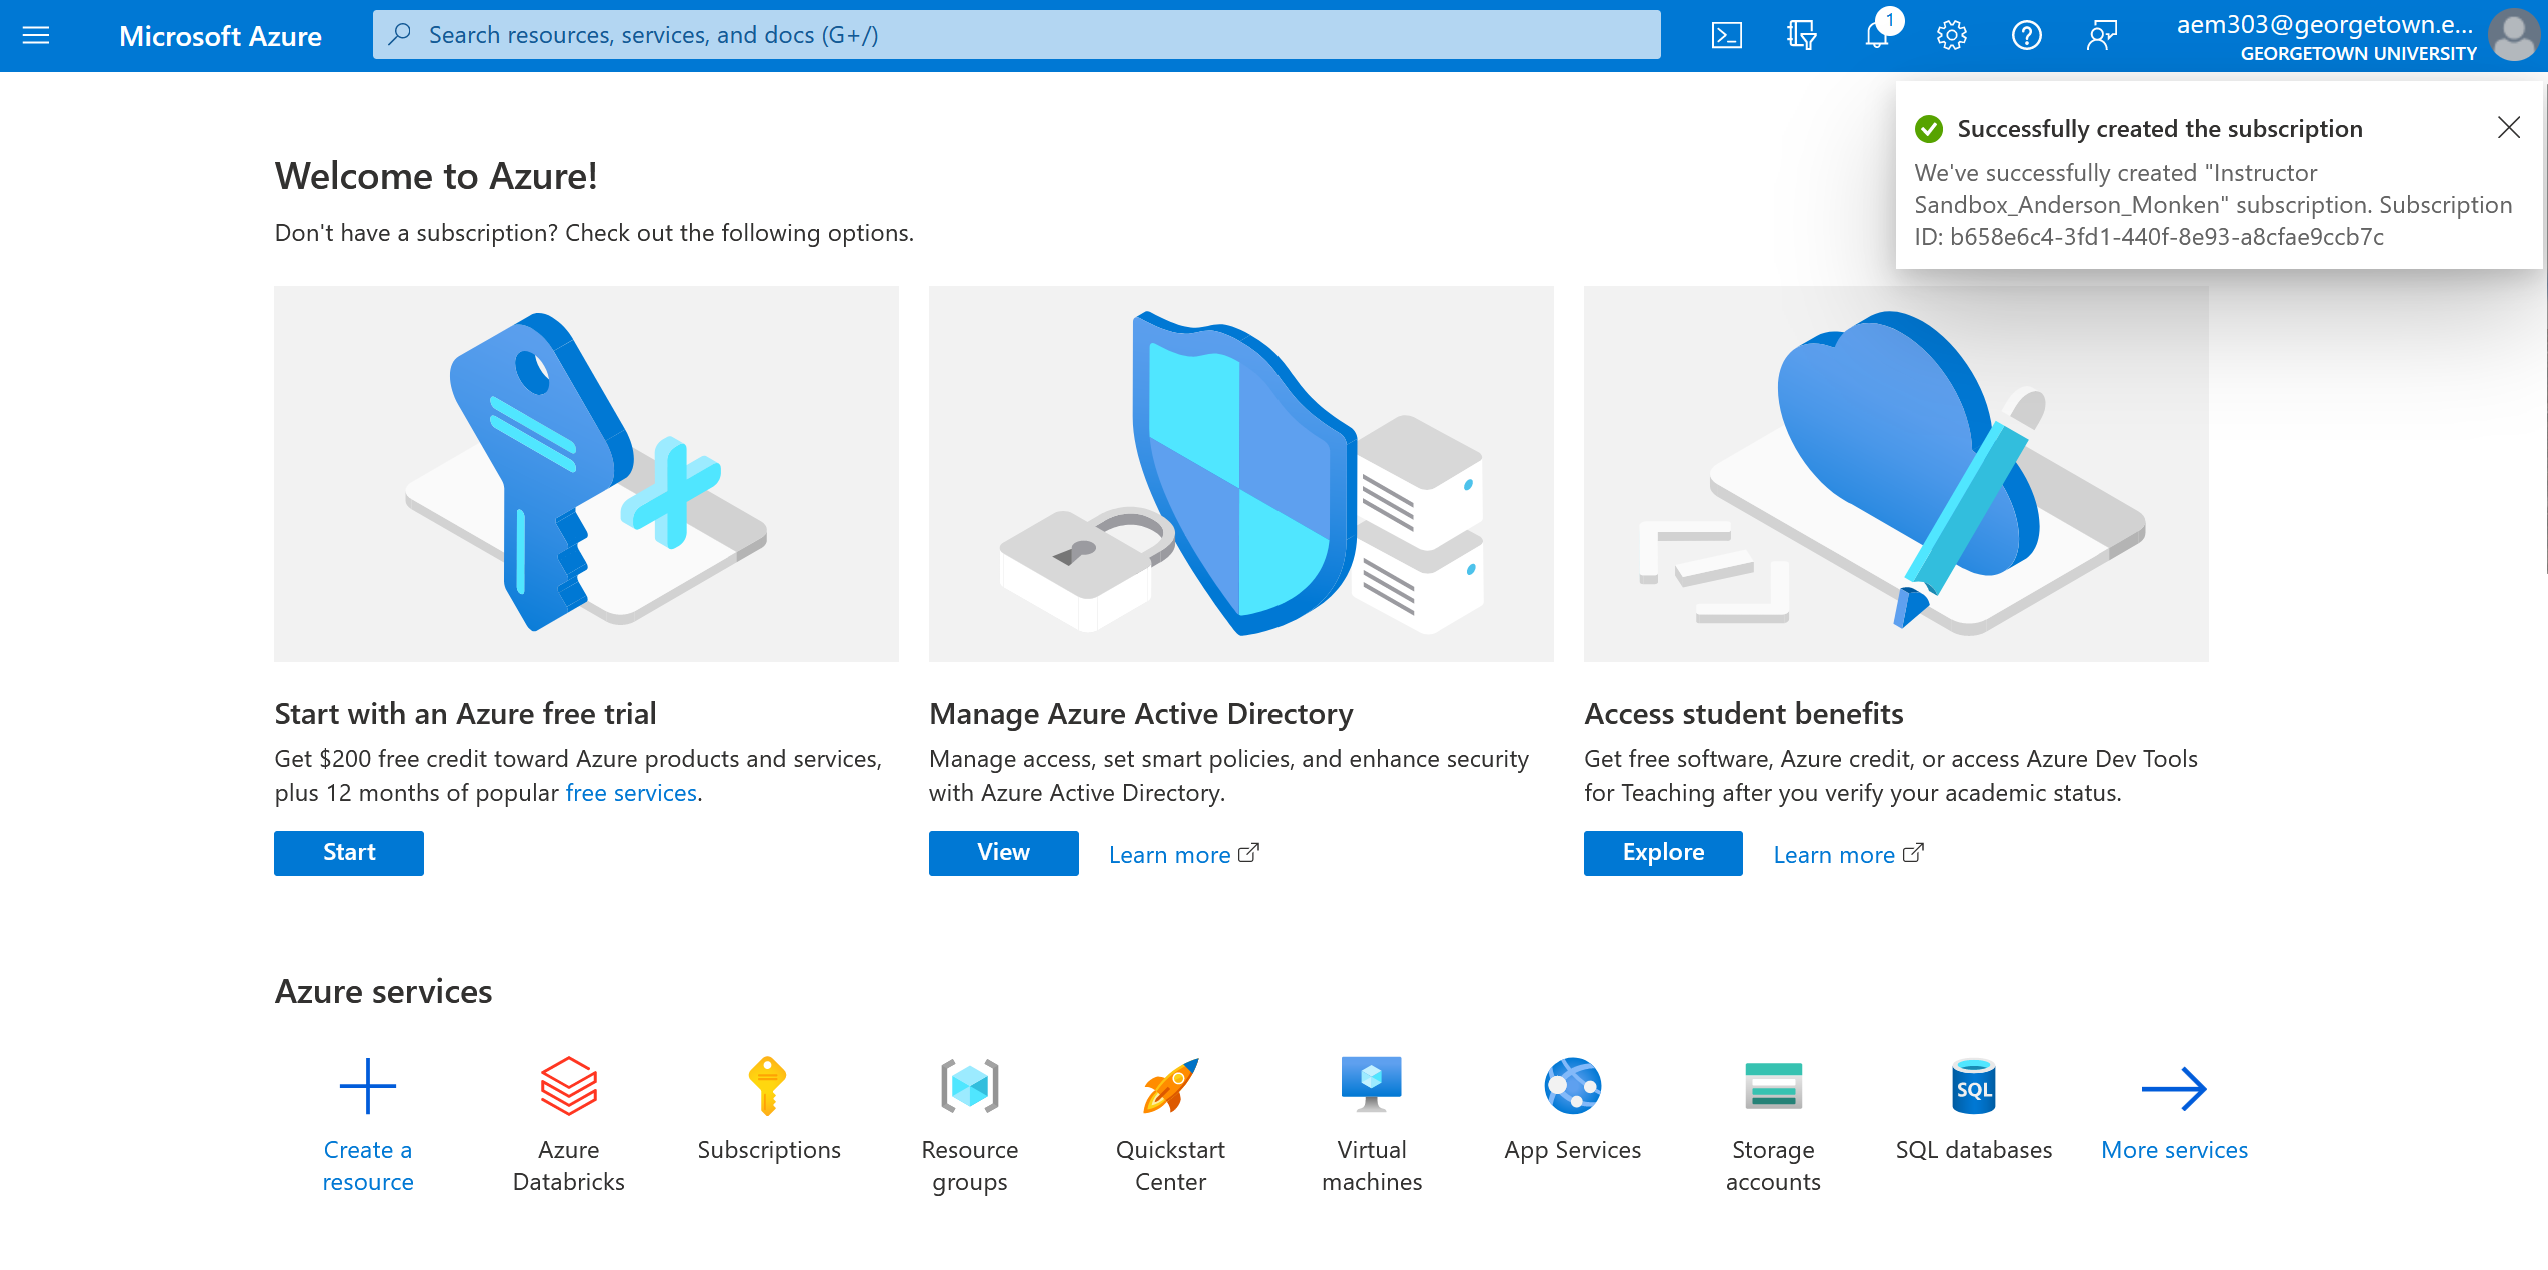
You will end up in Welcome to Azure page! and your Azure account is ready to be used!
Find your Azure Subscription information
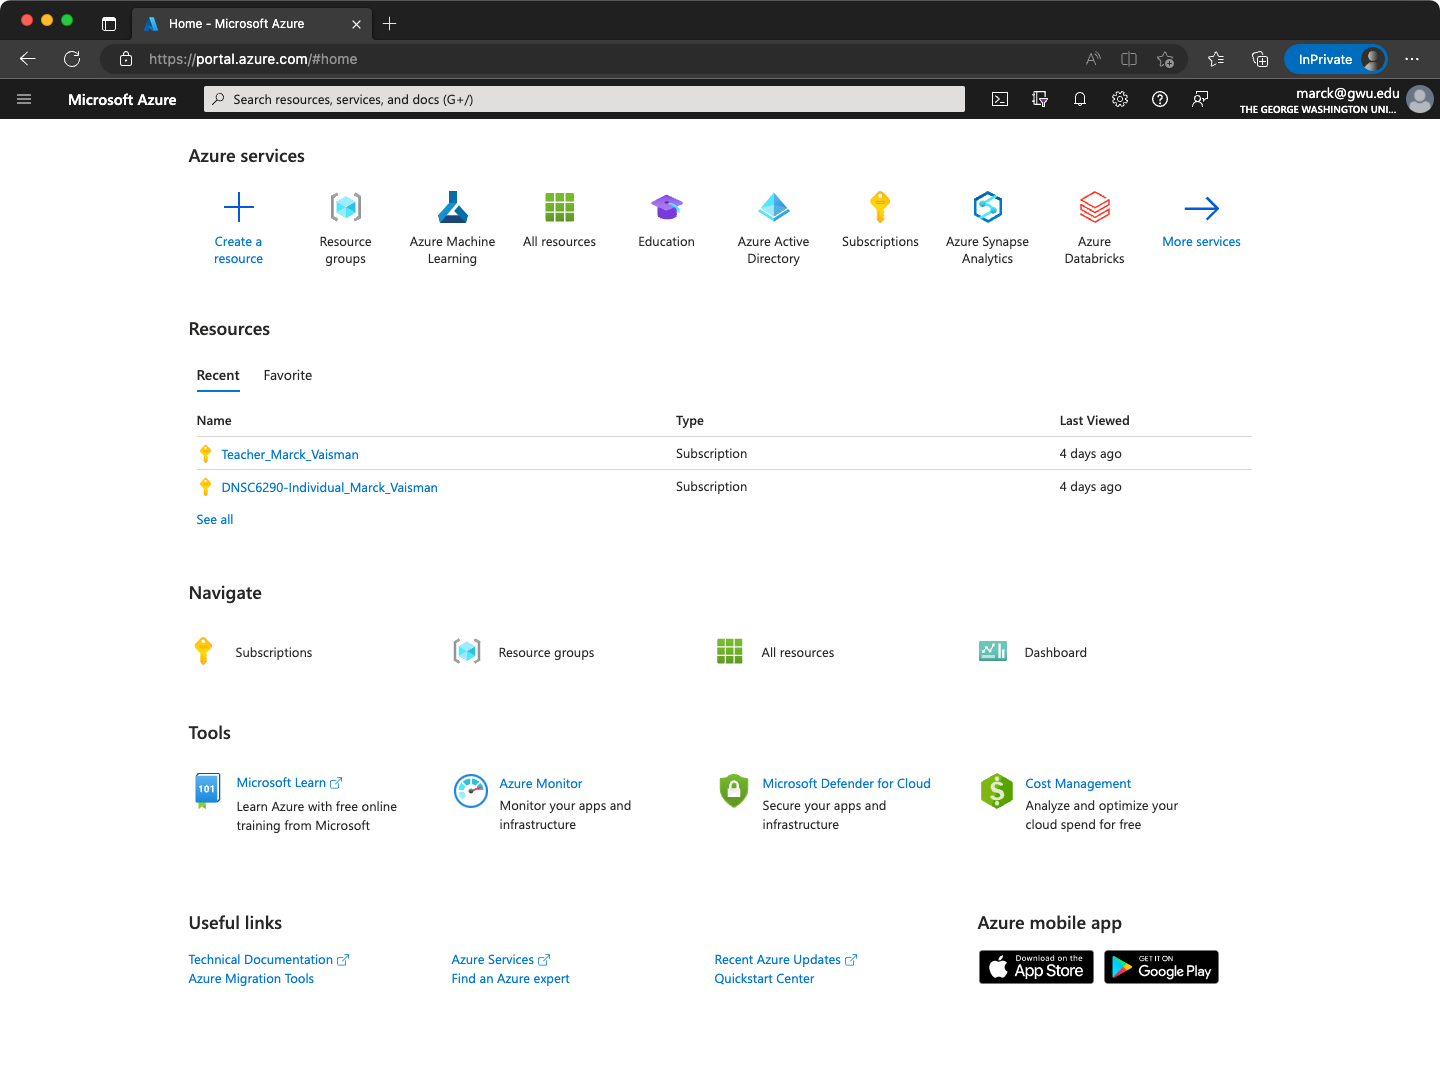
- Click on Home or on Microsoft Azure in the top left
- Click on Subscriptions (the key icon). You will see a list of all subcriptions associated with you Azure account (which is in turn, associated with your Georgetown email)
- Click on the
Subscriptions == global filteroval - Uncheck the checkbox that says Show only subscriptions selected in the global subscriptions filter
- You will either see a subscription called
ANLY502 Fall 2022_XXXXX_YYYYYwhereXXXXis your first name, andYYYYis your last name. - Click on your subscription name
- In this page you can see all information regarding your subscription. You may want to keep the Subscription ID handy for identification purposes
You will only have one subscription in your Georgetown Azure account unless you have created subscriptions in the past.
Log into the Azure Portal at a later time
To access the Azure Portal the future
- Open a private/incognito browser window
- Go to http://portal.azure.com - You may want to bookmark this
- Enter your with GU NetId and go through two factor authentication
- When you login to Azure, you will end up at the Home page
Set up your resource group
Unlike AWS, Azure uses a logical grouping of resources called Resource Groups. While you don’t need to create a resource group in advance, we recommend you do.
Upload your public ssh key to Azure
You will do this only once.
Click on Home in the top left
Type
ssh keysin the search bar, and click on SSH Keys service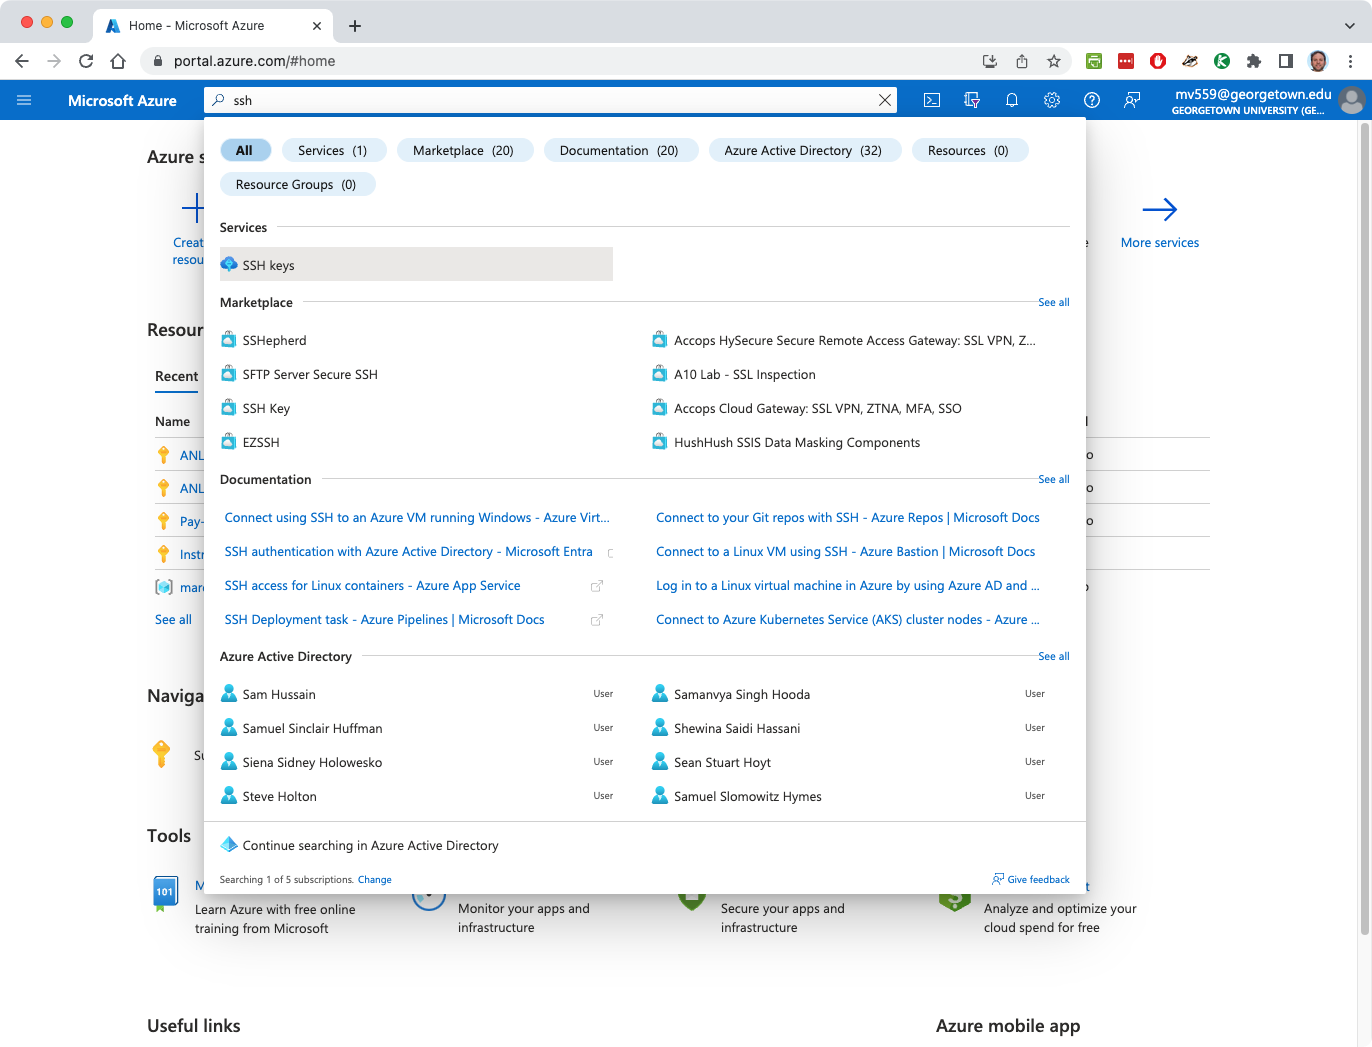
Click Create
Select the right subscription from the dropdown
Select the RG you created earlier from the dropdown
Give the key a name (it’s just a name, it doesn’t matter what it is as long as you know what it is)
Select Upload existing public key from the SSH public key source dropdown
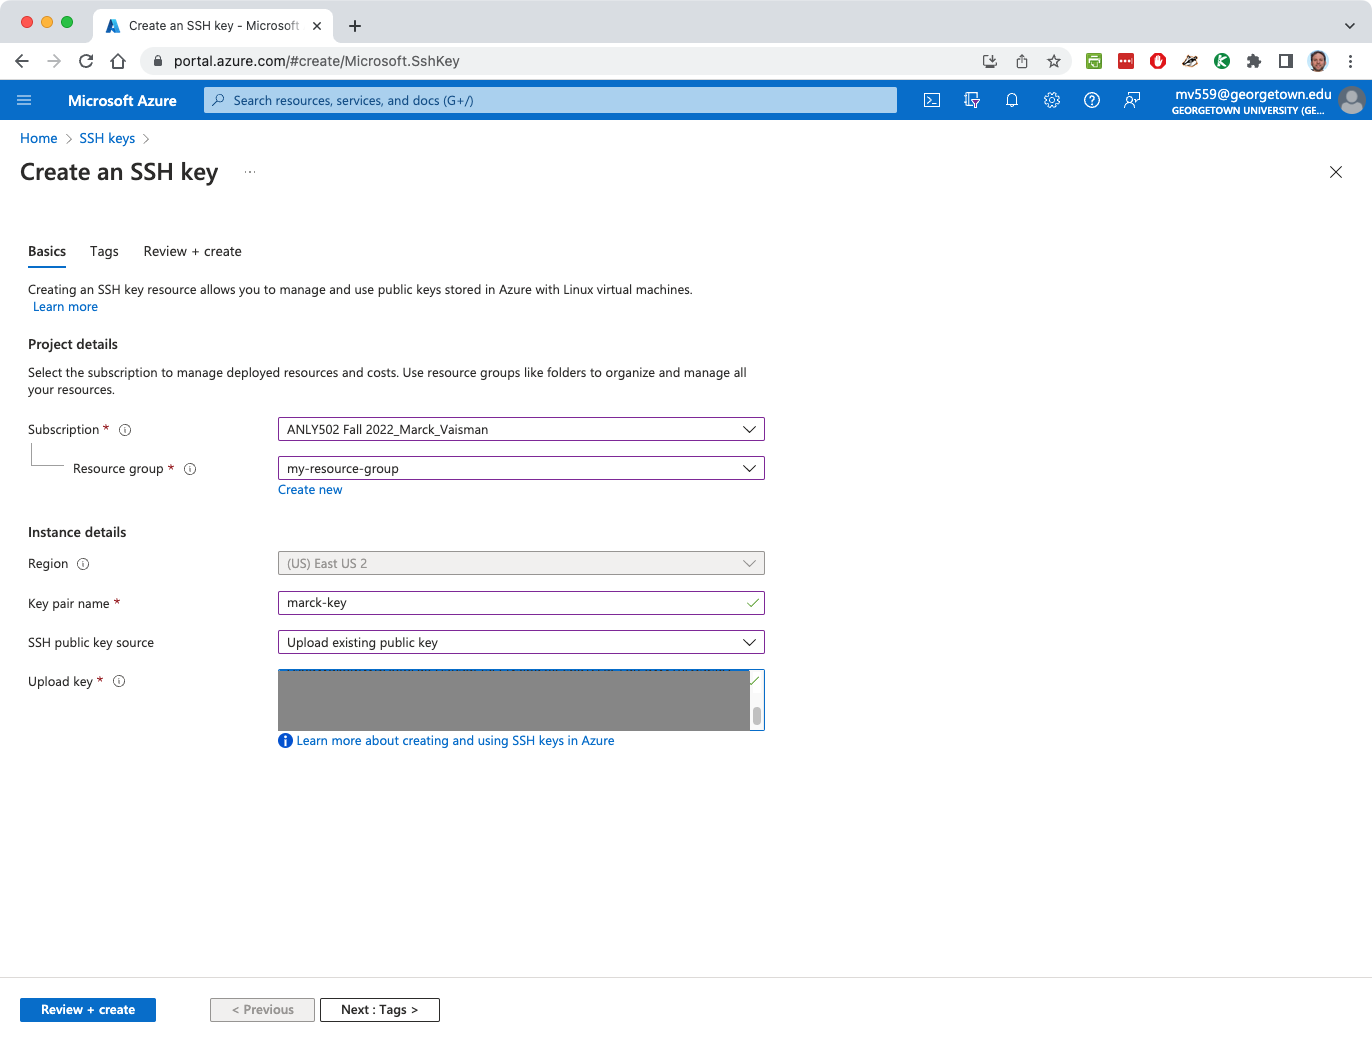
In the Upload key box, paste the contents of your public key which is in the file
~/.ssh/id_rsa.pub(Mac/Linux) orC:\\Users\<your_name>\.ssh\id_rsa.pub(Win) on your local machine. (See here for a quick refresher).Click Review + create
After validation passes, click Create
Once the SSH Key is uploaded, you’ll see it in the SSH Key list (if your right subscriptions are selected in the filter). You may have to hit “Refresh” on your browser for the page to update with your ssh key.
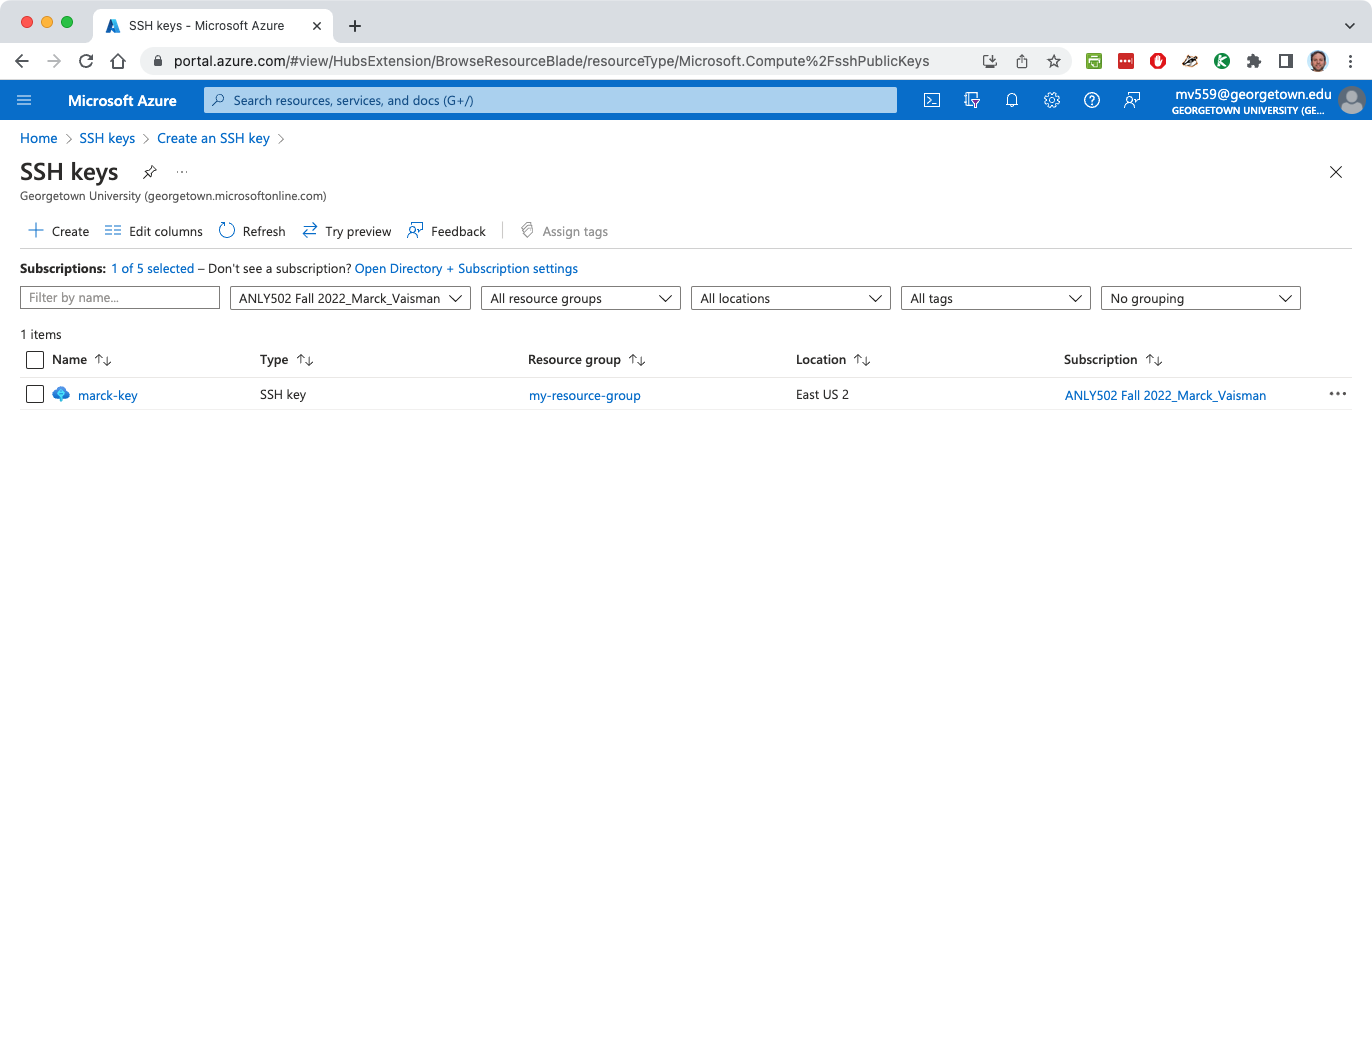 .
.